Last evening, I was driving into Boston to meet up with my family for dinner. The traffic was maddening. And as I accepted the fact that this drive, on top of another long drive completed yesterday, was going to take awhile and test my patience, I got to thinking.
Sometimes, driving in traffic is a metaphor for life. You have to know when to, in no particular order, speed up, slow down, take a chance, ask permission, be cautious, make a plan, and accept the circumstances you have been dealt.
What does this have to do with anything?
Well, over the years I have realized that often my first reaction when challenges present themselves is alarm. I honestly can’t help it, it is part of my DNA and I don’t say that to be cavalier. I think when you are a descendant of a persecuted nation, that fight or flight, protection of your interests is ingrained into you. It’s an inherited trait, but over the years, I’ve managed to not completely quiet the alarm but let’s just say dull it a bit.
So when we came home from our wonderful summer vacation to little house issue, there was a momentary period of time when my alarm was ignited, but then the lessons of traffic kicked it. Let’s accept the circumstances, make a plan, speed up our decision making (I take my time on most decisions), slow down our expectations of how quickly everything will get resolved, be cautious and spend the time and energy to put everything back together correctly (and then some). Not sure who I am asking permission of in this circumstance but I guess I ask it of myself to boo hoo just a teeny bit as needless to say this is a project I was not in the mood for as a summer close out!
But the good news is that when all is said and done, things may be better than before. It’s like when the traffic finally eases and you can see the destination in view. We’ve made it through the most difficult part of the process – remediation.
So, that my friends is what kept me from sharing this fun recipe last week because between all the things that needed to get done, there was no time to edit photos and write a blog post!
But before I get to the recipe, let me throw in this little bonus that I posted to my Instagram this week…
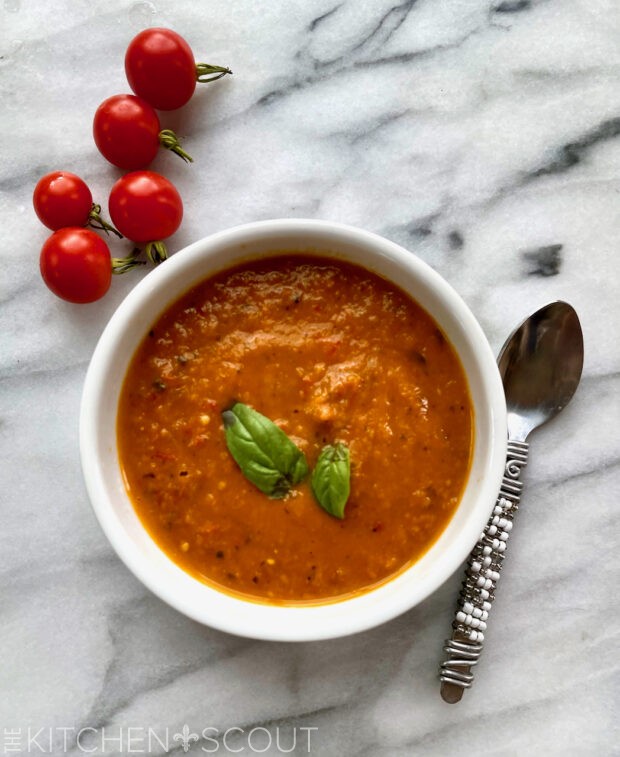
I named it Late Summer Cherry Tomato Soup for One. I had some yellow and red cherry tomatoes that were a bit too tired for a salad, but roasted with garlic, basil and pureed with a bit of chicken broth and more basil provided a light and healthy lunch for one! Here is my recipe. In 8 years of The Kitchen Scout, I have never written a recipe within a post so the formatting is a bit off. If you want to make it, try printing the page?
Late Summer Cherry Tomato Soup for One
2 1/2 cups cherry tomatoes
1 large garlic clove
Extra virgin olive oil
Salt and Pepper
Fresh Basil
1/2 cup low sodium chicken broth
Toss tomatoes and garlic clove with a little evoo, a few torn fresh basil leaves, salt and pepper in a 8X8 pan. Roast in a 400 degree oven until the tomatoes are jammy, 20-25 minutes. Pour all contents of the pan into a blender, along with the chicken broth and a few more basil leaves (never enough!). Puree until smooth. Reheat over low flame until warmed through. Season to taste and enjoy. Voila – soup for one!
∼
Now, onto today’s official recipe share.
Stuffed Artichoke Bottoms have travelled with me to three parties over the course of the summer and they have been consistently well received. I found the recipe online and thought they sounded too delicious to pass up.
First of all, the artichoke bottoms are canned so you are not doing any heavy lifting in the kitchen with this recipe, other than rinsing them off and patting them super dry. The bottoms are located right next to the artichoke hearts in the market and are super meaty, providing a nice little nest for the filling. There are a few brands on the market, but if you can find Roland I prefer them because they are a bit smaller than Pastene which has maybe 4 large bottoms in a can. Pastene is fine if that is what you can find, but you may want to cut them into smaller pieces after they have cooled for serving…
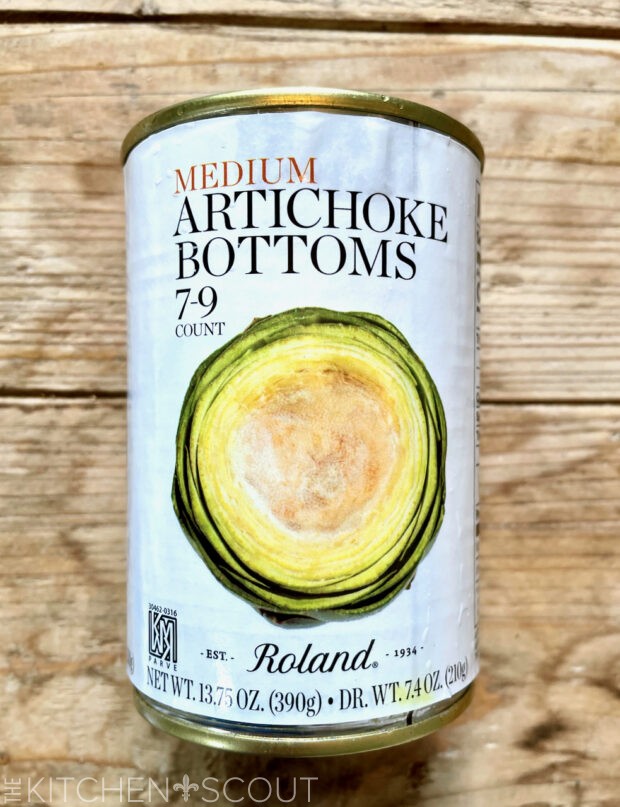
The filling is reminiscent of artichoke dip with a few extras that take it up a notch. Mayo, parmesan cheese, lemon zest and juice, toasted pine nuts and some parsley are the key ingredients, along with panko bread crumbs. The ingredients are mixed together and then loaded into the artichoke bottom, drizzled with some olive oil and baked until golden.
The first time I made Stuffed Artichoke Bottoms, I followed the recipe to the tee, making the filling without the bread crumbs and then dipping the tops of the filled artichokes into a mixture of the bread crumbs and olive oil.
The second time I made them, I mistakenly added the breadcrumbs into the filling. When I realized this, I just kept moving, drizzled them with olive oil, baked as directed and nobody was the wiser. I think in all honestly, it saves a step and makes the recipe easier to just mix the bread crumbs into the filling. If you want a crunchier top then by all means leave them out of the filling and dip the artichokes into the breadcrumbs directly. Don’t worry – I spell this all out in the recipe!
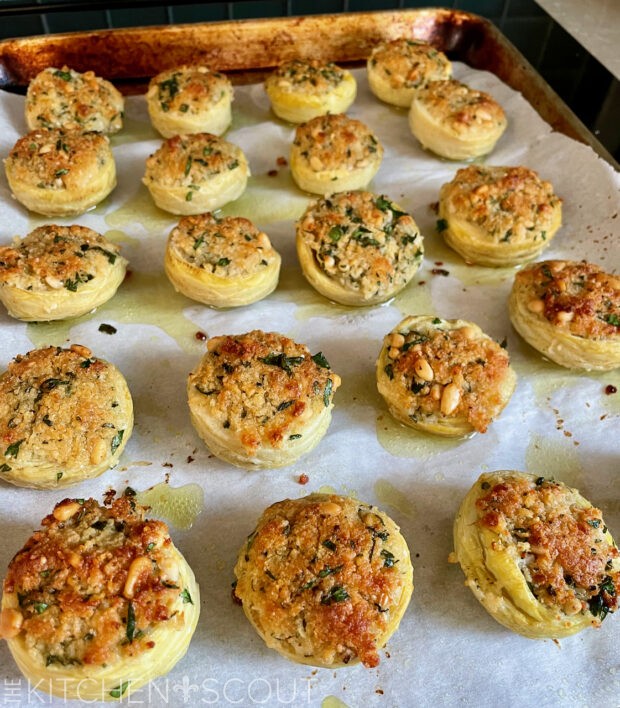
I mean, looking at these right now, I’m not sure why you would add the extra step because don’t these look crumbly enough?!!!
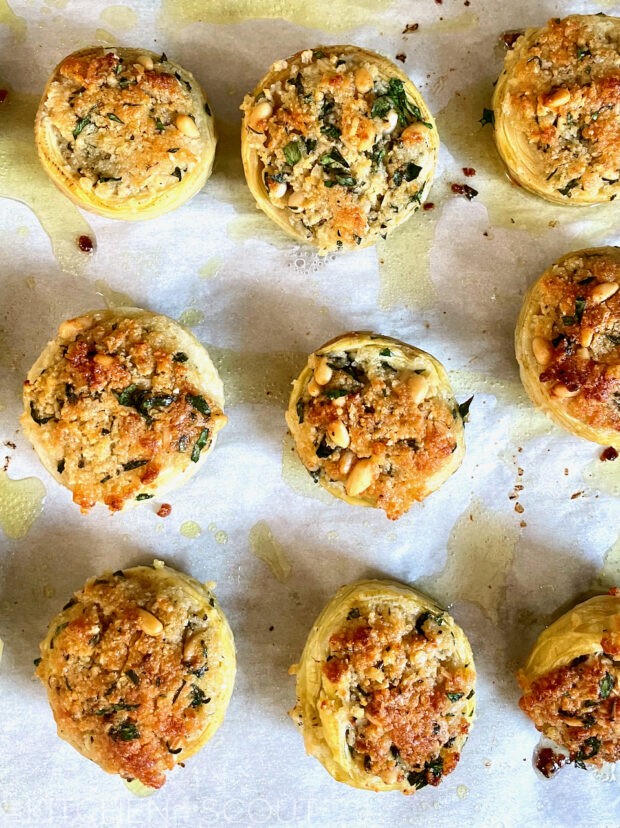
I had extra when I made them for the photographs and my daughter was soooo happy about it…
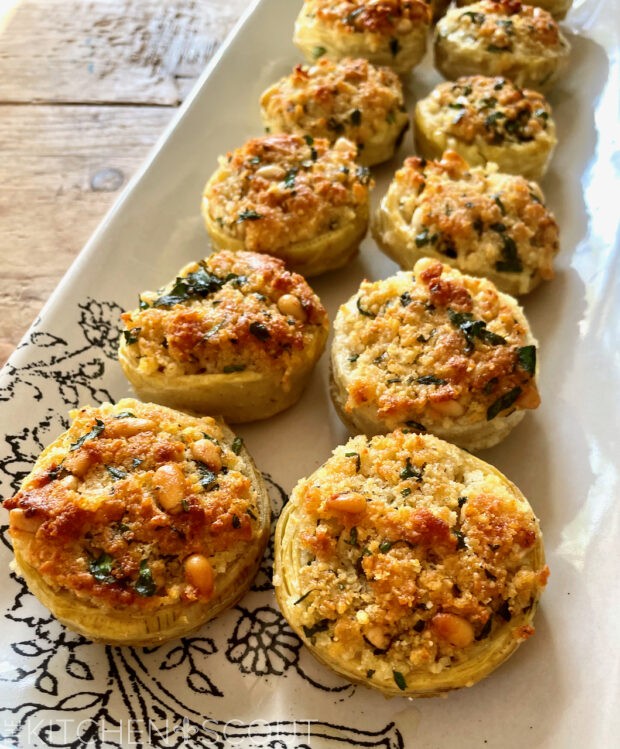
They are great as an appetizer but you could also serve them as part of a buffet or a light lunch…
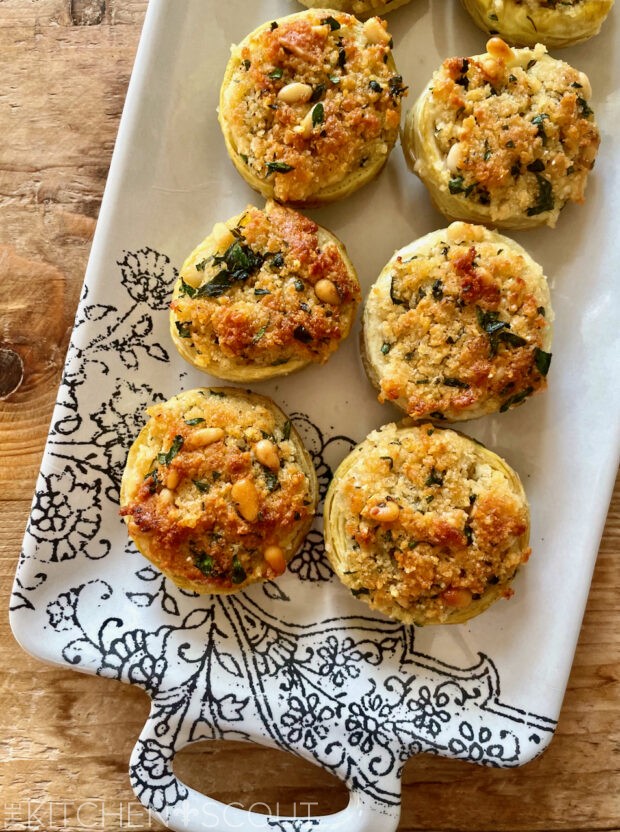
And you can absolutely cut them into smaller pieces (after they have cooled please) to get more pieces…

So, what do you think? Will you be making Stuffed Artichoke Bottoms soon? And what about Late Summer Cherry Tomato Soup for One? I would love it if you let me know.
Until next time…
One Year Ago: Zucchini Corn Ricotta Tart
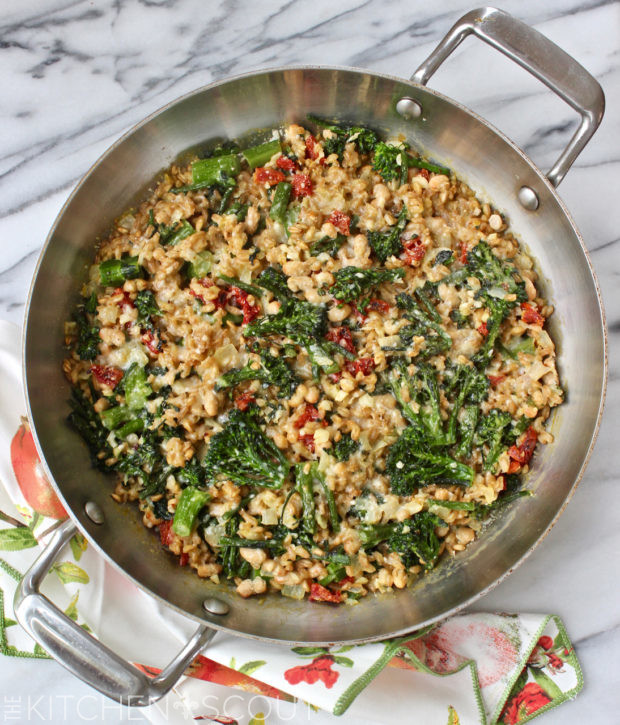
Three Years Ago: Farro and Broccolini Gratin
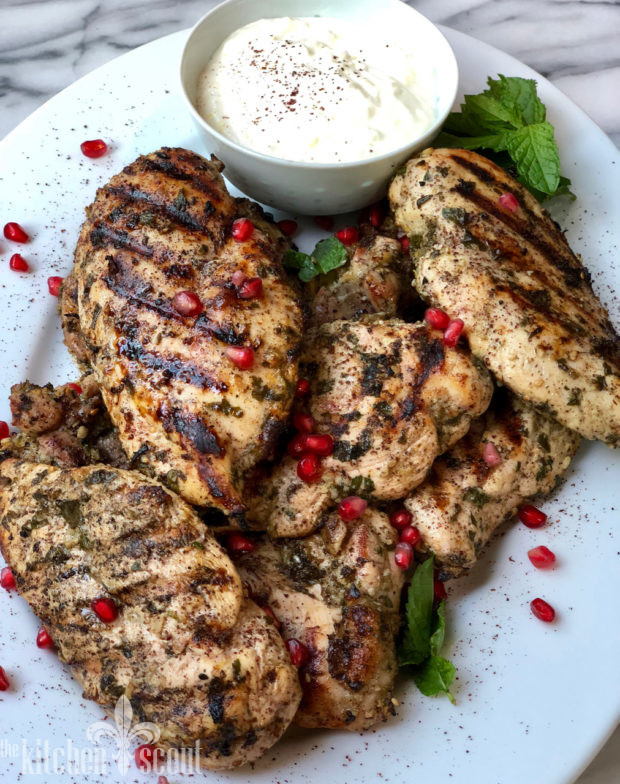
Four Years Ago: Za’atar Chicken with Lemon Yogurt
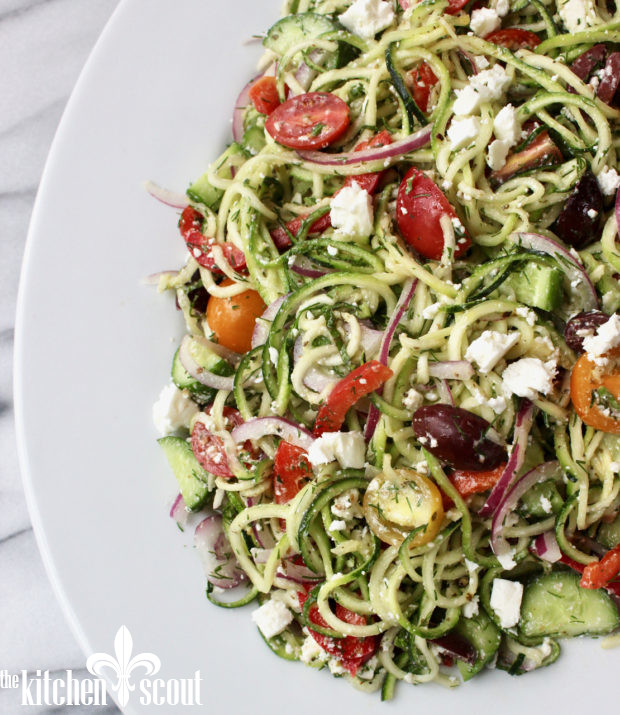
Five Years Ago: Greek Zucchini Noodle Salad
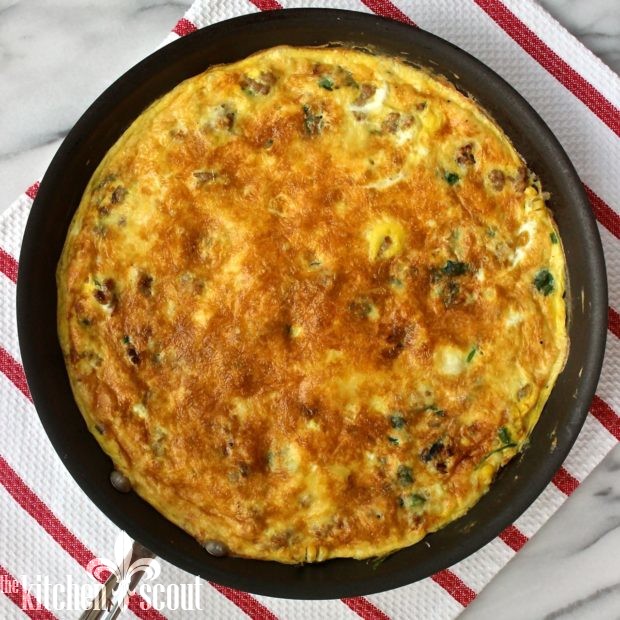
Six Years Ago: Sausage, Corn and Spinach Frittata
Seven Years Ago: L.A. Story Part Two

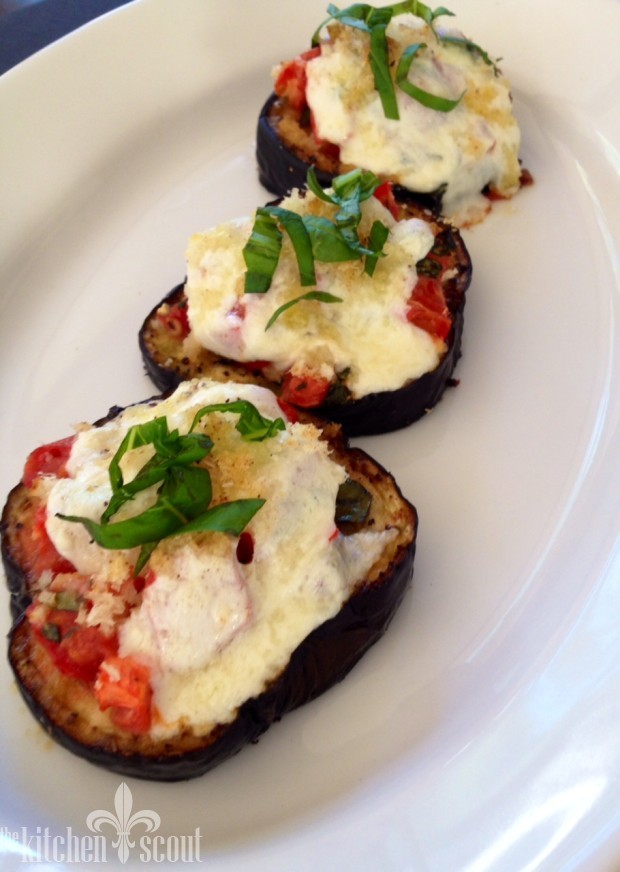
Eight Years Ago: Roasted Eggplant Parmesan
This recipe is adapted ever so slightly from "yesidothecooking". I like using the Roland brand of artichokes if you can find them as there are usually 7 smaller artichoke bottoms in the can. Pastene will also work but you will most likely have larger artichokes that can be cut into smaller pieces after they have cooked and cooled slightly. The recipe is great for an appetizer or can be served as part of a buffet. Enjoy!
Ingredients
- 3 can artichoke bottoms
- 1 ½ cups finely shredded (snow like) parmesan
- ½ cup mayonnaise
- 2 garlic cloves, minced
- Zest of one lemon
- 1 Tablespoon fresh lemon juice
- ¼ cup pine nuts, toasted and cooled
- 2 Tablespoons fresh parsley (add a little chopped basil too if you'd like)
- ½ teaspoon pepper
- ½ cup panko bread crumbs
- 2 Tablespoons olive oil
Instructions
- Preheat the oven to 375 degrees with the rack in the middle.
- Rinse, drain and pat very dry the artichoke bottoms. Place on a baking sheet that has been lined with parchment paper.
- In a large mixing bowl, combine the parmesan, mayo, garlic, lemon zest and juice, pine nuts, parsley and if using, the basil (just a touch is good), the pepper and the bread crumbs. Mix until well combined (see note below).
- Divide filling equally among the artichoke bottoms, pressing down so the filling is firmly packed.
- Drizzle the artichoke bottoms with the olive oil (I also like to use a diffuser with olive oil which covers them nicely).
- Bake for 20-25 minutes or until tops are nicely browned.
- Garnish with additional chopped parsley and serve.
Tips from The Kitchen Scout
In the original recipe, the author mixes all the filling ingredients except the panko and olive oil. That filling is loaded into the artichoke bottoms. The breadcrumbs are then mixed in a bowl with the olive oil, and the stuffed bottoms are dunked into the breadcrumbs and then baked off. You are welcome to prepare the recipe this way, but I believe the way I've rewritten it makes it more streamlined without sacrificing much texture!







are the artichoke bottoms hollow? as in concave?
They are as if the choke is scooped out so they have a little shallow indentation that allows you to put the filling on top! Does that make sense? Like a little bowl almost!