Well, this week started out with a bang. I went to load my wordpress to get started on a blog post for the first time in 3 weeks, only to find a blank screen. Same for my website. When I first started blogging five years ago, this type of situation terrified me. Website, oh website, where the (blank) have you gone???? It’s not like you can find your website under a pile of clothes or at the back of a drawer. It is “somewhere” out there on the web, and the individual who holds the key to its location is not you! I can’t tell you the number of times my fabulous web designer/trouble shooter, Lorell has pulled me off the ceiling when I thought all of my writing, recipes and photos had disappeared into thin air or were threatened by a malicious hacker (yes, that happened).
So today when the site failed to load and after I sent her a mildly panicky text, I also called my web host to figure out if they knew what was going on. Despite attempting to resist sounding like a panicked middle-aged woman who was out of her league technologically, I did ask my nice technician Joshua if he could reassure me that my site was not gone forever. I couldn’t help myself – arghhh! That was before he upsold me more data storage that happened to be “on sale”.
Once again, I have to shout out to Lorell of River Vision Associates for always being there for me and helping me get back on the blogging track. The technology part of writing a blog can be really challenging at times to be honest. Thankfully, she was able to work some of her magic once again and my website and wordpress was back in business.
˜
It has been a busy time for our family with our younger daughter graduating from college recently. Nonetheless, I have been in the kitchen and out to some new restaurants so hope to keep the content coming.
The recipe I am sharing this week may be a touch out of season – or not – depending on how you like to cook in the summer. My summer menus are not all about grilled meats and cold sides, although that is often the case. Sometimes a warm side dish (although this recipe can also serve as a vegetarian main dish), that maybe has a touch of decadence (cheese) can be a nice accompaniment to some grilled chicken or meat. A few summers ago, my friend Carlota served a delicious pasta with five cheeses as a side dish and it was an unexpected surprise and a very welcome alternative to the sweet corn we eat lots of while we are in Rhode Island.
And the other reason for this particular dish is that I am on a farro kick again. Have you made my Farro, Citrus and Arugula Salad? That’s a goodie. And if you haven’t tried Charlie Bird’s Farro Salad that was first printed in the New York Times, and later adapted by Ina Garten (her vinaigrette has more lemon), then you really need to make it soon, especially if you are a fan of farro and healthy salads. It’s a combination of nutty farro that is cooked in a combination of water and apple cider ( actually used apple cider vinegar by mistake twice and thought it was fine!), that is then tossed with lots of fresh herbs (basil and mint), Parmesan cheese, arugula, tomatoes, radish, toasted pistachios and a vinaigrette that has a touch of lemon. It is divine.
My friend, Marte introduced me to it initially and then another friend, Nancy made it recently reminding me that it is a terrific recipe. I brought it to a friend’s house where it was happily received and decided to make it again for dinner with my husband a few weeks ago. He was suspect, not being the biggest fan of farro, but he agreed the dish is magic, especially because of the fresh mint. Just a hint – don’t skip the step of cooking the farro with apple cider and use the best olive oil you have.
Because I was on the farro kick, today’s recipe stuck out to me while pawing through a magazine I was offered at the new America’s Test Kitchen location at the Innovation and Design Building, after our lunch at Chickadee. I decided to make it while our vegetarian daughter was home from the west coast, thinking she might like it and she did, asking if it was going on the blog 🙂
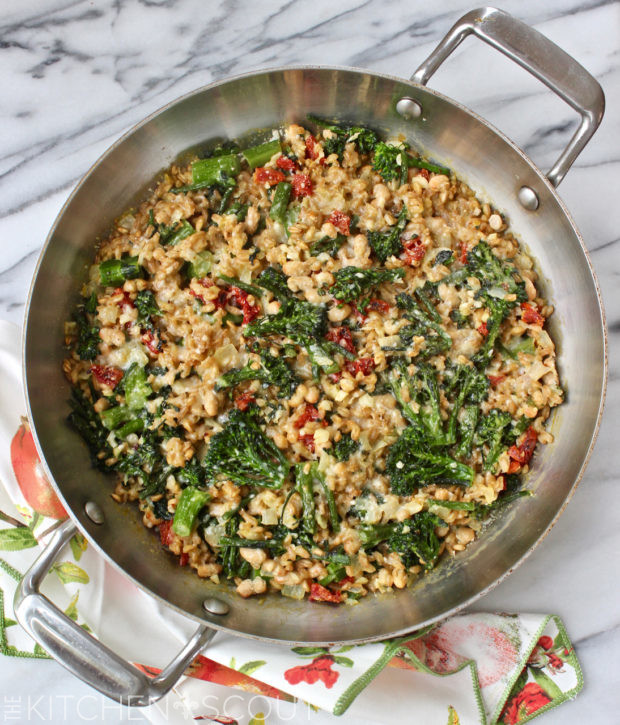
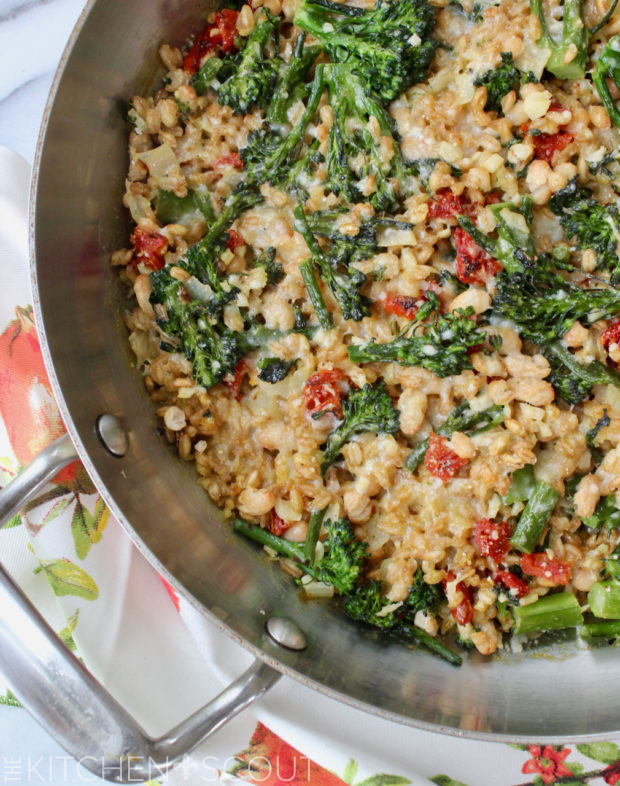
This farro dish is prepared a little differently from the Charlie Bird salad. Rather than boiling and draining the grains and tossing them with the remaining ingredients, Farro and Broccolini Gratin is prepared by toasting the farro in an oven-proof pan where you have already sweated some onions and then simmering them slowly in a combination of vegetable broth and water. The remaining ingredients are added after a little fussing and then the pan is run under the broiler to brown the top. Side note, my daughter introduced me to a new vegetarian broth that I am going to try to incorporate into my cooking going forward as it’s quite tasty.
The original recipe called for broccoli rabe which is more bitter than broccolini and sometimes harder to find. The first time I tried the recipe, I used regular broccoli florets because I had them on hand, cutting back the amount suggested because it seemed like a lot. The second time, I used broccolini because I love the stems. The broccolini is boiled separately and then quickly sauteed in lots of garlic and red chili flakes, before being added back into the pan with the farro, some white beans, sun-dried tomatoes and Parmesan cheese. The steps are a little fussy, but they work. I suppose you could try to saute the garlic and red pepper for a bit with the onion, being careful not to burn it. And then you could throw the broccolini into the pan with the farro and cover it so it cooks completely. But, I’ve provided the recipe as it originally appeared in ATK’s magazine as it worked for me. You do you!
When I made this dish, I cut back a little bit on the cheese and the beans just to suit our palates, but you can add it all in for lots of flavor and a complete meal, especially if you are a vegetarian.
What do you think? Could Farro and Broccolini Gratin make it to your table this summer?
Until next time…
One Year Ago: Travel Post – Croatia and Montanegro

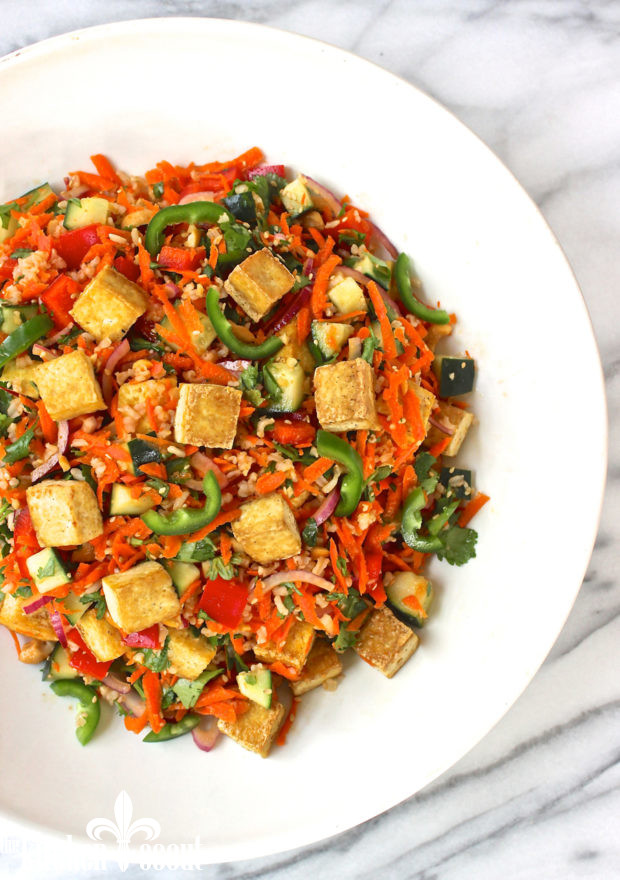
Two Years Ago: Chopped Salad with Crunchy Tofu and Brown Rice
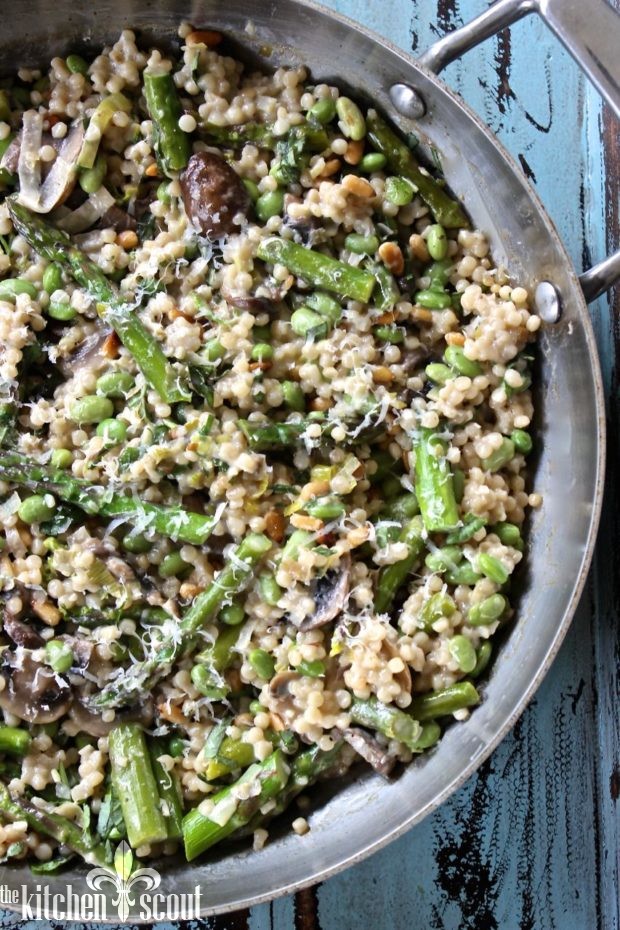
Three Years Ago: Israeli Couscous Primavera
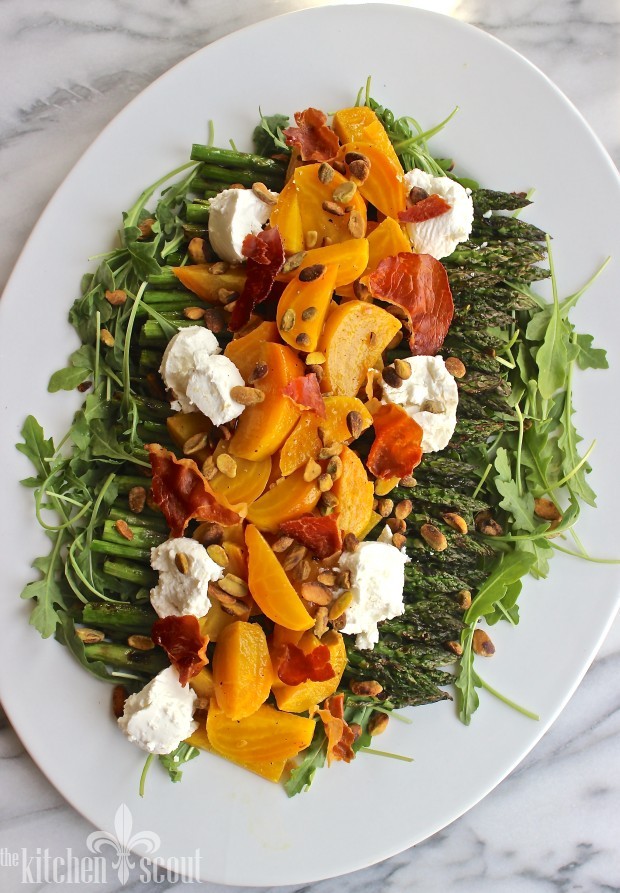
Four Years Ago: Grilled Asparagus and Beet Salad
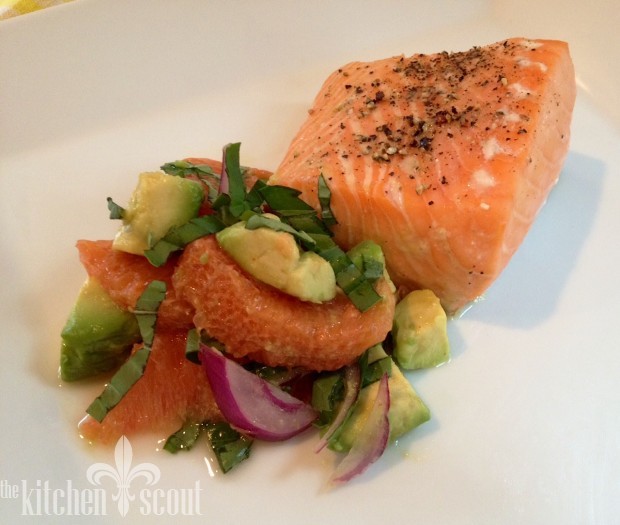
Five Years Ago: Salmon with Orange-Avocado Salsa
Nutty farro is combined with broccolini, sun-dried tomatoes, white beans and Parmesan cheese for a complete main course, or a side dish. Recipe adapted from America's Test Kitchen Best-Ever Casseroles.
Ingredients
- 2 Tablespoons extra virgin olive oil
- 1 onion, finely chopped
- 1 1/2 cups whole farro, rinsed
- 2 1/2 cups vegetable broth
- 1 cup water
- 2 cups grated Parmesan cheese (see notes)
- 1 bunch broccolini (8 ounces), trimmed and cut into 2 inch lengths
- 6 garlic cloves, minced
- 1/8 teaspoon red pepper flakes
- 1, 15-ounce can small white beans or navy beans (see notes)
- 1/2 cup oil-packed sun-dried tomatoes, chopped
Instructions
- Heat 1 Tablespoon oil in large, ovenproof saucepan over medium heat until shimmering. Add onion and cook until softened and lightly browned, 5 to 7 minutes. Stir in farro and cook until lightly toasted, about 2 minutes. Stir in broth and water and bring to a simmer, stirring often, until farro is just tender and remaining liquid has become creamy, 20 to 25 minutes longer. Off heat, stir in 1 cup Parmesan and season with salt and pepper to taste.
- Meanwhile, boil some water in a 3 quart stock pot. Add the broccolini stalks first along with a teaspoon of salt and cook for about 2 minutes. Add the broccolini florets and continue cooking for another 2 minutes. Drain.
- Wipe the pot dry and add the remaining Tablespoon of oil, the garlic and red pepper flakes and cook over medium heat until fragrant and warmed through, 1 to 2 minutes. Stir in the broccolini and cook until hot and well coated, about 2 minutes. Add the broccolini, the beans and sun-dried tomatoes to the farro and stir to combine. Taste and adjust for salt and pepper.
- Sprinkle with remaining 1 cup Parmesan and run under the broiler for 3-5 minutes until lightly browned and hot.
- Serve and enjoy.
Tips from The Kitchen Scout
When making this for my family, I did cut back on the cheese a bit, and used only half the can of beans. I used the leftover beans to make a pureed dip with garlic, lemon juice, olive oil, fresh parsley, salt and pepper. Be sure to use the small beans as the large beans will be too exposed and may suffer under the broiler.




A busy time of year for sure — just reading last week’s blog! The recipe looks yummy. Thanks for your perseverance and commitment, Val — love your blog!!