My father was a dentist by profession. Let’s just say there were a few disadvantages…
For example, there was nary a fun “sugar cereal” box in our kitchen cabinets. No Frosted Flakes, Froot Loops or Captain Crunch were poured for breakfast (remember, this was at a time when sugar cereals weren’t thought to be completely evil). Of course, when we lived with our grandmother on the Cape in the summer, all bets were off!
And then there was the year my beloved father decided to give out “toothbrush kits” on Halloween. They were cute boxes I remember filled with a mini toothbrush, toothpaste, a fluoride tablet I think and probably some floss. Thank goodness this didn’t become a habit. We were horrified when trick or treaters came to our house expecting an awesome candy bar and instead received a toothbrush. I laugh when I think of it now, but at the time I wanted to run and hide! Oh and speaking of Halloween and my bag of loot – I had to pick just a few pieces of candy to enjoy and the rest mysteriously disappeared.
Dad’s colleagues were my orthodontist and oral surgeon. My orthodontist actually told my father at lunch one day that I ask way too many questions (I did but if you knew how long I was in braces, you’d understand). Whose father has lunch with their orthodontist today?!!!! On a positive note, my oral surgeon allowed my Dad to scrub in and be in the operating room (yes, in a hospital) when my four wisdom teeth needed removing. I was so scared both of the surgery and of my oral surgeon so his presence really calmed me down!
Now, there were some other advantages to having my Dad be a dentist. For one, I don’t have a single cavity. Yes, our drinking water had fluoride, but I would rather attribute this to the little exams he would give us after breakfast to make sure we had brushed our teeth properly! Another advantage? Unlike so many of my friends, I was never afraid to go to the dentist, even when my father retired and I had to find a new one. I think this had more to do with the cavity thing, but you know from this post how much I adored my father. Going to his office was always a lot of fun. I am still very close with all of the nurses who worked with him and who he considered like daughters themselves.
So, what the heck does all this have to do with Buffalo Quinoa and White Bean Burgers?
In my father’s waiting room, he had Highlights. Remember them? I loved those educational magazines. I don’t remember what he had for the adults, but I hope they were good because I happen to think the magazine/waiting room thing is important. Waiting rooms is where I now get my little magazine fix since I love them, but don’t receive many at home anymore due to online content being widely available. I still love to flip the pages, especially of magazines I don’t usually read.
And that leads me back to the conversation about dentists because my current dentist’s office has the motherload of awesome magazines. So much so that I joked with my prompt hygenist that she didn’t give me enough time to get my fix last time I was in. I told her I was planning to settle into one of the waiting room’s couches post-appointment for an hour or two to read everything before I left.
Well, I didn’t do that but I was able to quickly flip through a Cooking Light that had a recipe for Buffalo Quinoa burgers that sounded delicious so I snapped a picture of it and have been working on my variation ever since.
My family loves anything with Buffalo sauce and my daughter and I are always attracted to the vegetarian burger options so I was really excited to turn this into something delicious.
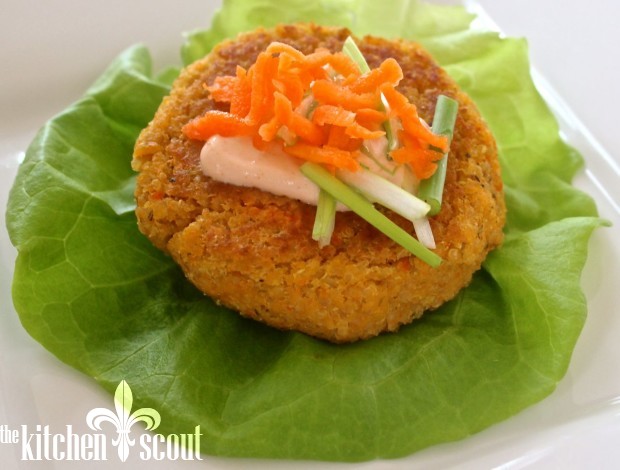
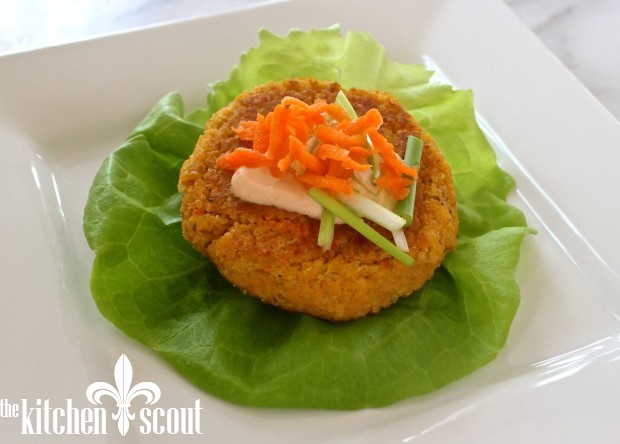
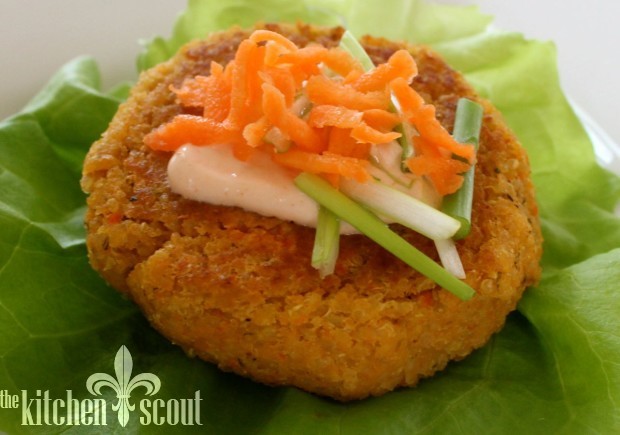
Buffalo Quinoa and White Bean Burgers are easy to put together and can be eaten like a traditional burger in a bun, wrapped in lettuce or on their own on top of a salad or with some roasted vegetables. The burgers have a good dose of protein from the combination of quinoa and white beans and a little decadence from the hot sauce.
Cooking Light’s original recipe called for chickpeas, but I prefer the flavor and texture of the white beans so swapped them out. The original recipe also didn’t incorporate the buffalo flavor into the burger, but rather layered it on top after cooking. I added hot sauce directly to the burger mixture. I made a few other changes as well, adding a higher percentage of quinoa, a little less garlic and scallions instead of white onion. Once you have formed the burger patties, it is really important to chill them until firm as they will hold together much better when they are pan fried
I topped mine with a sauce made from Greek yogurt mixed with a little more hot sauce. I thought it added a nice kick.
Have you tried my Black Bean Burgers? They are delish too!
I hope you make them soon and let me know what you think in the comments!
Until next week…
One Year Ago…Moon Pies & Chocolate Dipped Graham Cracker Cookies
Two Years Ago…Brussels Sprouts, Bacon and Gruyere Frittata
Based on a recipe from Cooking Light
Ingredients
- 2 teaspoons plus 1 Tablespoon vegetable oil, divided
- 1/2 cup finely chopped peeled carrot
- 3/4 cup thinly sliced scallions
- 1 garlic clove, minced
- 1 cup water
- 1/2 cup uncooked quinoa
- 3/4 teaspoon kosher salt
- 1/2 teaspoon freshly ground black pepper
- 1 can cannellini beans, drained and rinsed
- 1 large egg
- 3 Tablespoons hot sauce (Frank's or Frank's Buffalo)
- 1/2 cup panko breadcrumbs
Instructions
- Heat a saucepan over medium-high heat. Add the oil and carrot and saute for 2 minutes or until they start to soften. Add scallions and garlic and cook for just one minute until fragrant. Add 1 cup water and quinoa and bring to a boil. Cover, reduce heat to medium and simmer 18 minutes or until liquid is absorbed. Spoon cooked quinoa onto a large plate and cool for 5 minutes.
- Combine quinoa mixture, salt, pepper, white beans, eggs and hot sauce in a food processor. Process until almost smooth, leaving just a little texture if you want. Add panko and pulse to incorporate.
- Shape quinoa-bean mixture into 6 patties (or more if you want sliders) about 1/2 inch thick. Chill, covered for at least one hour. The longer you let them set up in the fridge, the better they will hold together during the cooking process.
- Heat a large nonstick skillet over medium heat. Add 1 Tablespoon of oil to the pan and swirl to coat. Add the patties to the pan and cook on 3 minutes on each side or until lightly browned and cooked through. Like with most vegetarian burgers, you need to cook them until they have a firm texture and do not have much give when you press lightly with a spatula, otherwise they will tend to fall apart if eating them on a bun.
- Enjoy on a bun, between two layers of lettuce, on top of some mixed greens or with roasted vegetables on the side. Enjoy!
Tips from The Kitchen Scout
I like to mix a little Greek yogurt with some more of the hot sauce and use it as a topping to boost the Buffalo flavor of the burgers. Shredded carrot and sliced scallions can be added too.





Dear Val,
I love the way your mind works! Your dad, dentistry, Highlights, Cooking Light, buffalo quinoa burgers…
Please write a post on why that particular flavor is called buffalo! Or don’t (if there’s no entertaining explanation)!
Bredt
Yes, my mind is quite roundabout now isn’t it! I like your suggestion for a blog post about “why buffalo”!
I will definitely make this for Emily when she is home in May! It looks so yummy and easy! Thanks for all the vegetarian recipes – they are greatly appreciated!
Great, Ellen! And you are welcome, but I must also thank you for always being so great to comment on my posts! I really appreciate it!