
I prepared homemade Chinese dumplings recently. The instructions for properly folding the dumplings were fairly detailed but without any visual aids. The recipe said there were to be four folds to connect the two sides of the dumpling wrapper and when it was completed, the dumpling should be able to sit upright and look like a loveseat. Alrighty!
I am a visual learner so in order to even attempt the art of folding, I consulted the internet. Within seconds I found a video that demonstrated several ways to properly fold a dumpling. Among them was the one that seemed to produce a loveseat or at least something that looked like a couch built for two.
In any case, my mind started to drift and I thought how impersonal and somewhat lonely this experience ended up being with my little dumplings. Yes I folded them correctly and yes, they were delicious. But the women from the video were nowhere in site.
My point is that for me, there is no substitution for hands on, in-person learning. There are subtleties and nuances that we pick up by standing side by side in the kitchen, watching someone’s hands, debating together how something looks or tastes. It’s the connection with others that I enjoy most about cooking, whether I am the teacher or the student, feeding or being fed. You get it.
So when my friend Francine whom you’ve met here and here invited me over to learn to make homemade almond milk, I eagerly accepted. Yes, there are plenty of tutorials online already about how to whir almonds into creamy “milk”, but the opportunity to spend time with a friend in the kitchen, asking questions and observing their techniques is so much better!
We had a great morning and not only did I walk away with some deliciously, creamy almond milk, a recipe and some knowledge, I also have a wonderful memory.
I began by asking Francine why she started making her own almond milk. For a long time, she purchased an unsweetened variety at Whole Foods. But the product she was purchasing had gums and other thickeners and fortifiers meant to extend its shelf life. Making her own almond milk allowed her to control the ingredients that went into her recipe.
When she purchases almond milk in the store now to insure she has backup in case she runs out, this is the brand she feels is the most superior on the market. It is difficult to find, however and is often sold out…
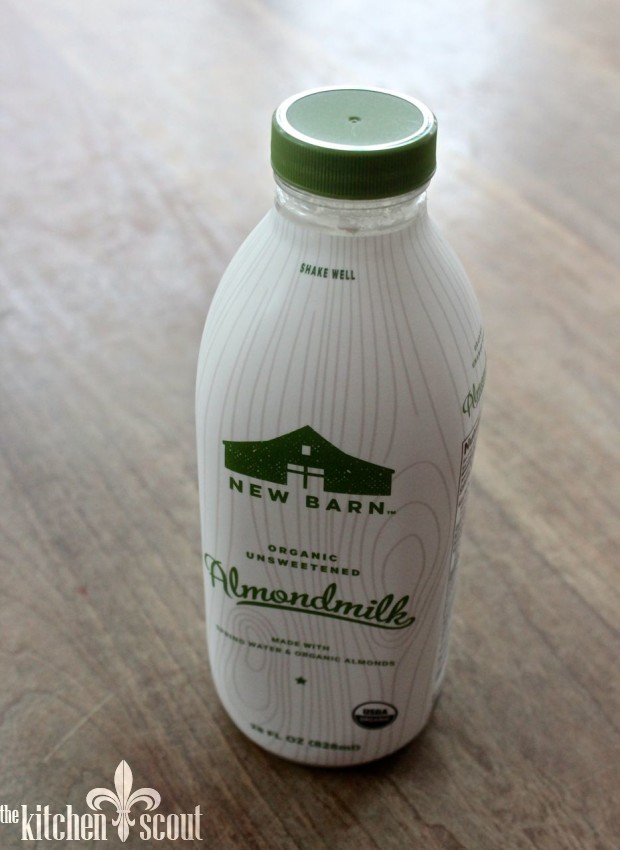
Although homemade almond milk is accordingly more perishable than the store bought varieties, Francine prefers its creamier texture and its superior taste. After tasting what we made and comparing it to what I normally purchase ready-made, there is absolutely no comparison between the taste and texture of the homemade versus store bought.
Here is how almond milk played out…
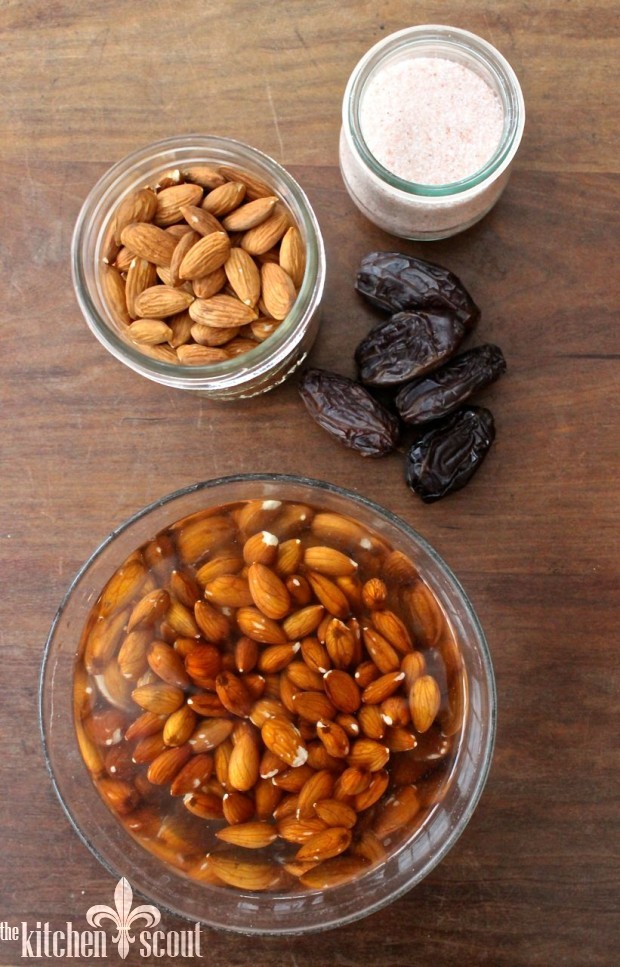
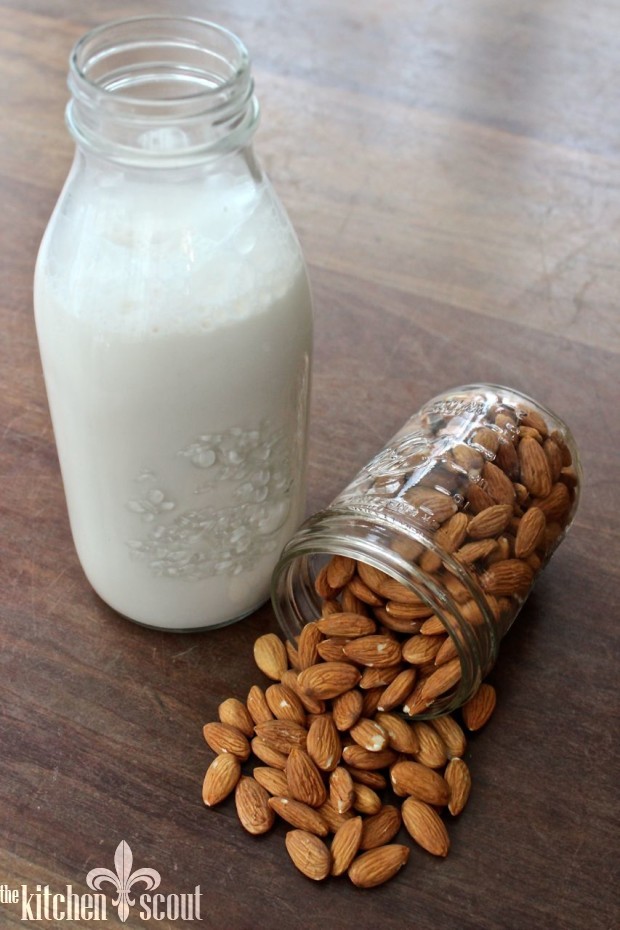
The ingredients to make almond milk couldn’t be more straightforward. Raw almonds (organic are preferable), one date (we used gorgeous Israeli Medjoul dates), a couple of pinches of salt (we used pink Himalayan) and filtered water. The date provides just a hint of sweetness which can also be achieved by using maple sugar, agave, or a vanilla bean. The salt balances out the sweetness and brings out the flavors of the almonds…
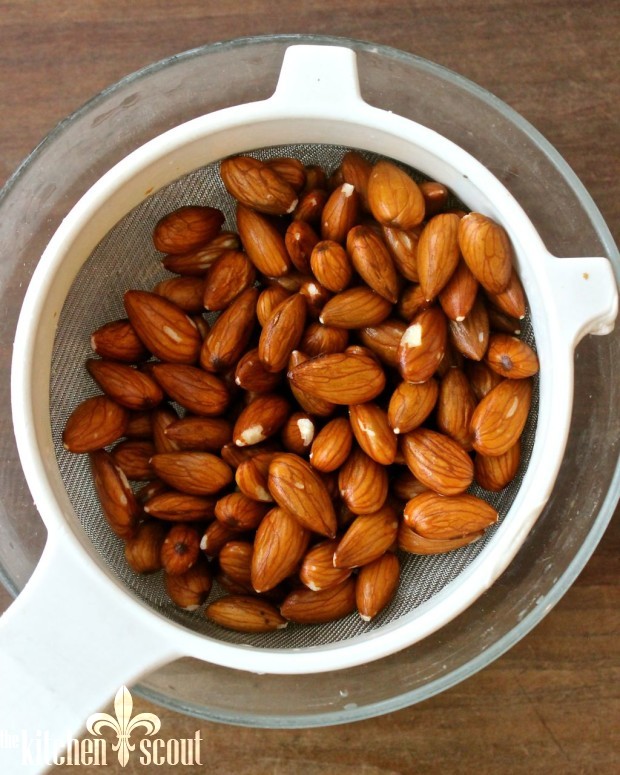
The first step is to soak your almonds overnight. This allows the almonds to plump up and soften, making them easier to whip into milk…
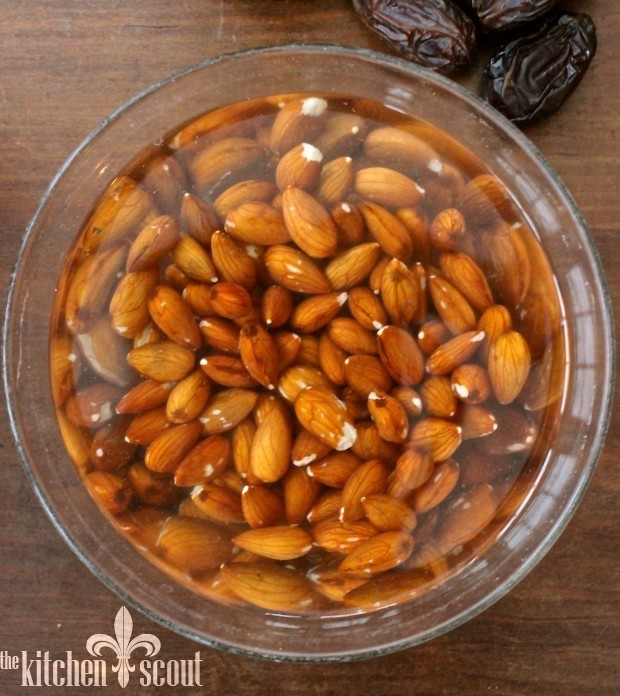
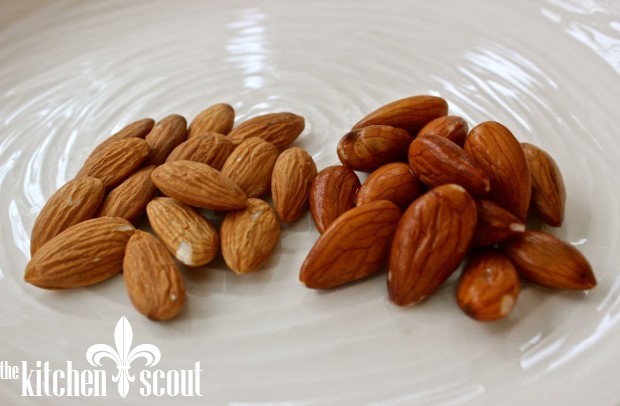
You can see the difference between the raw almonds and the soaked almonds in the picture below…
The nuts can soak for up to two days, after which they are drained thoroughly and the soaking liquid is discarded…
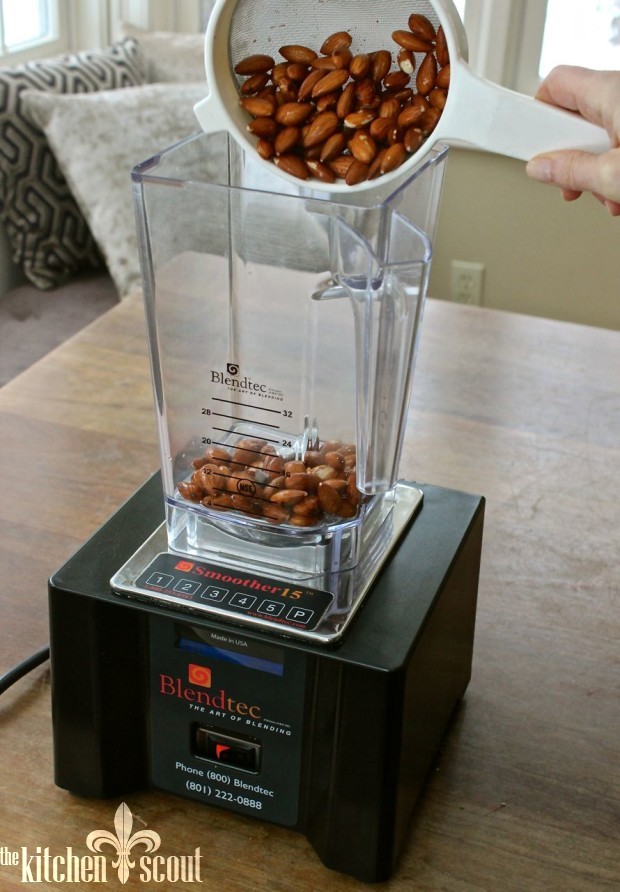
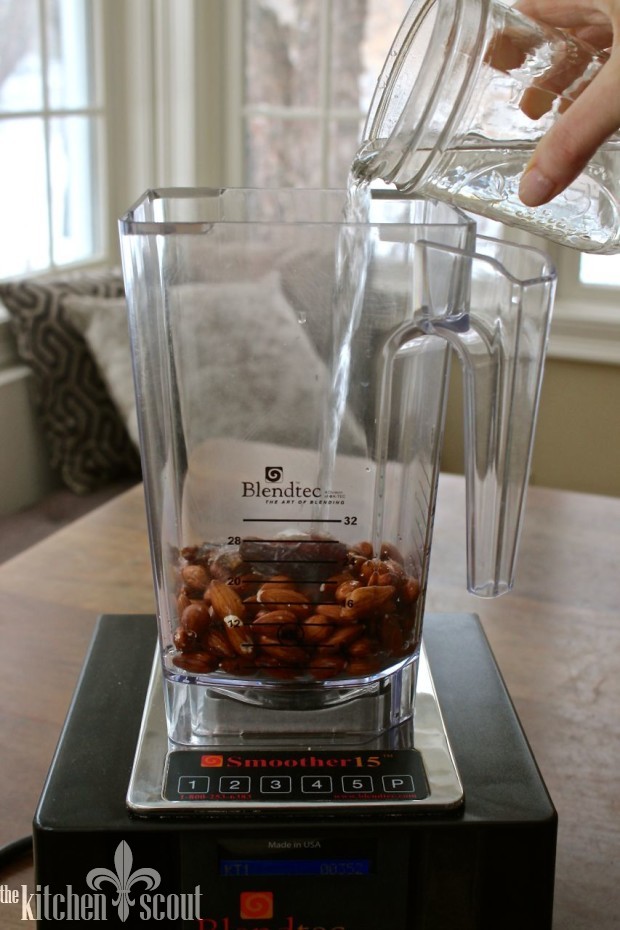
At this point, you can peel the almonds if you choose, but given the high speed nature of Francine’s blender we did not. As Francine says, we are making milk after all so all that peeling, not so much. The almonds are added to the blender…
With the pitted date…
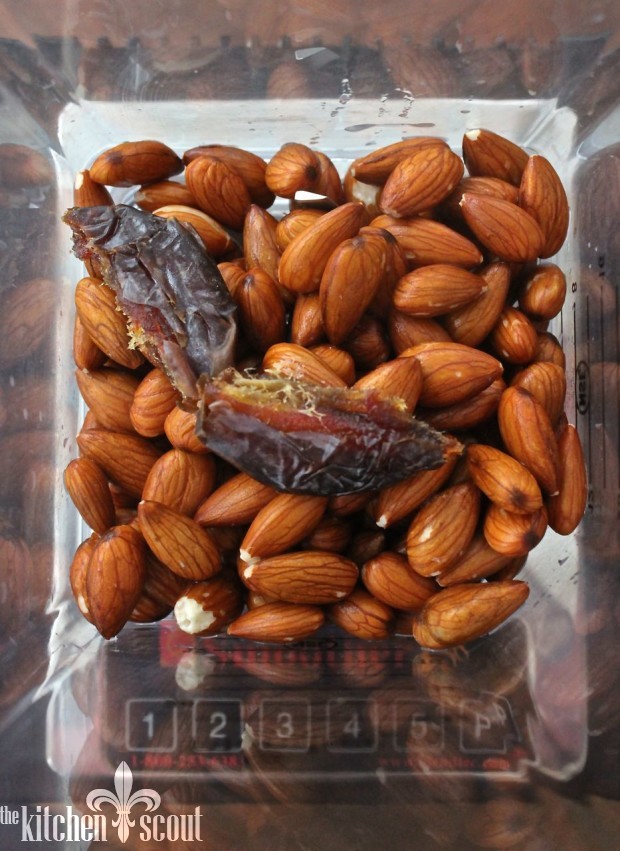
A couple of pinches of the salt…
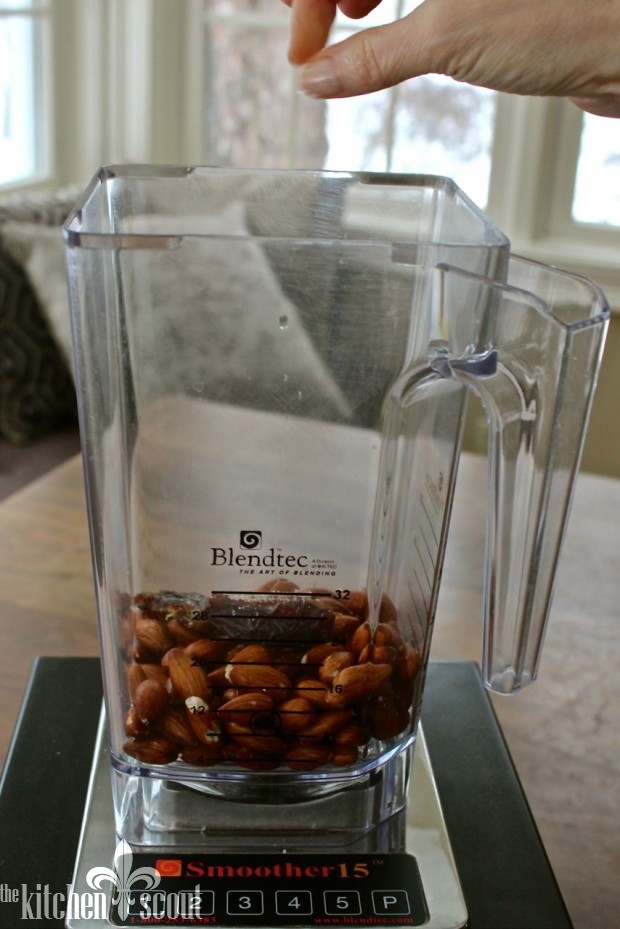
And about 3 1/2 cups of filtered water. Sometimes, Francine adds in a handful of raw, unsalted cashews as well which provide a heftiness to the milk and results in an even creamier texture…
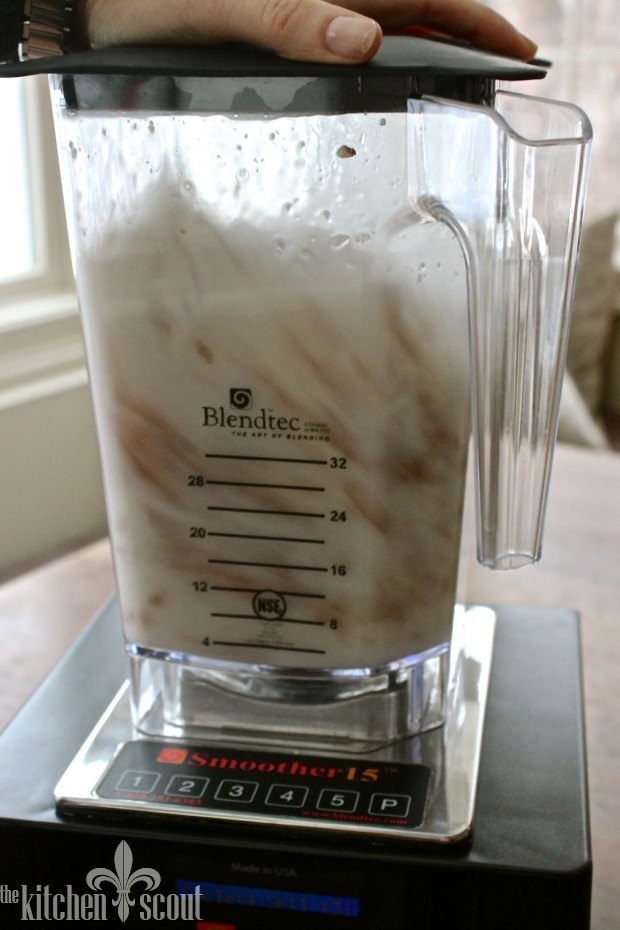
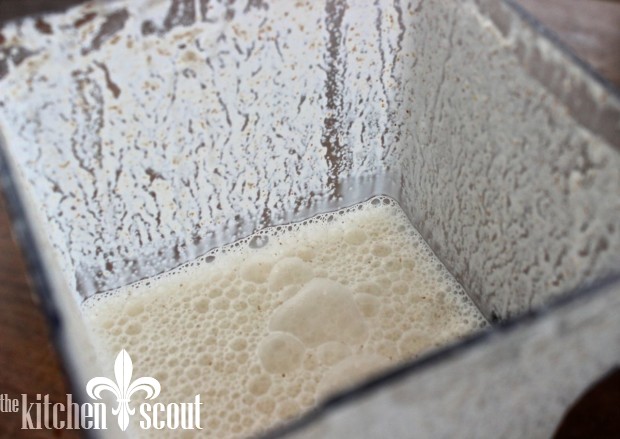
The mixture is then blended for 2 to 3 minutes until the brown flecks of almond skin are barely discernible. I love this photo because you can see the almonds whirring away…
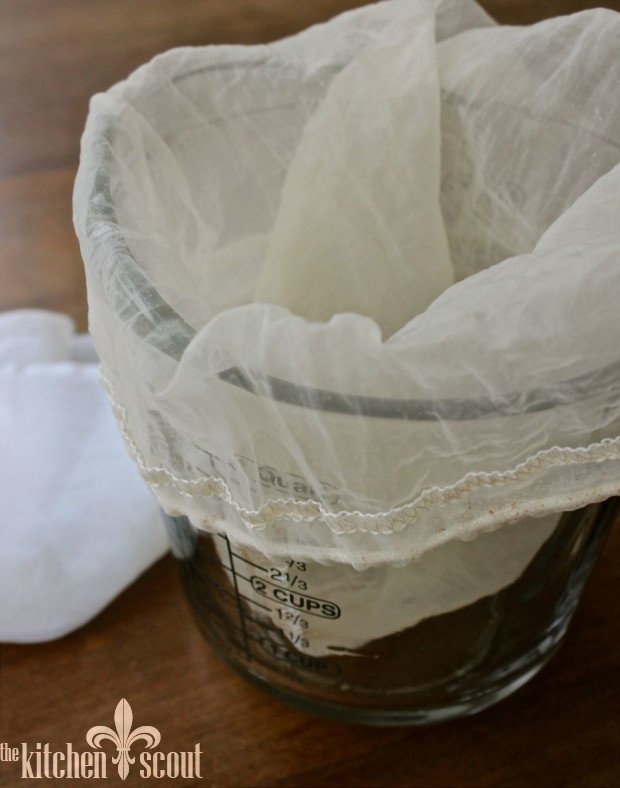
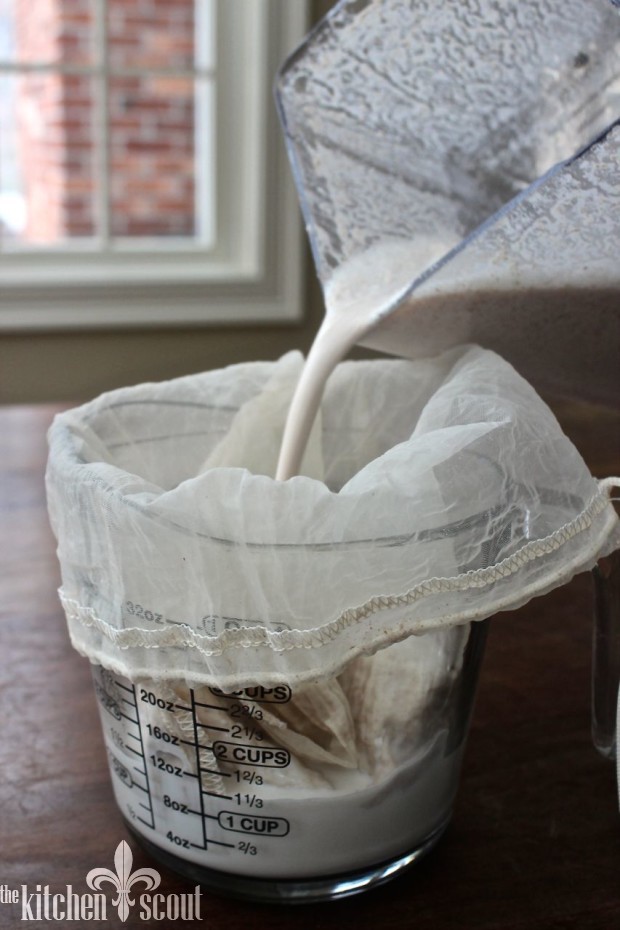
To separate the milk from the almond solids, we used a nut bag that we placed in a measuring cup as shown…
The almond milk is slowly added to the bag and some of the liquid begins to strain through immediately. We did this in batches…
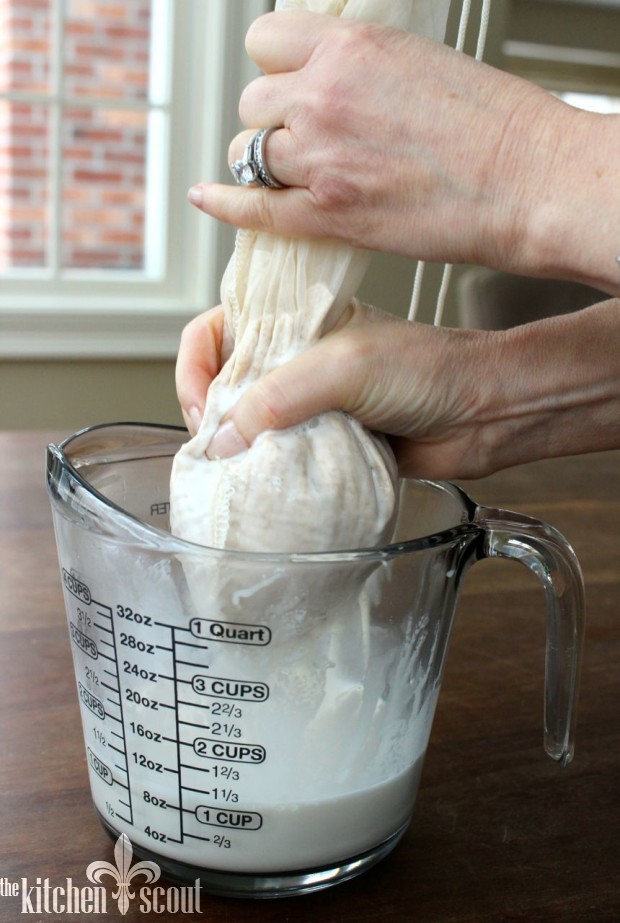
Here is a picture of Francine holding up the nut bag and beginning to press on the remaining solids to extract all the milk…
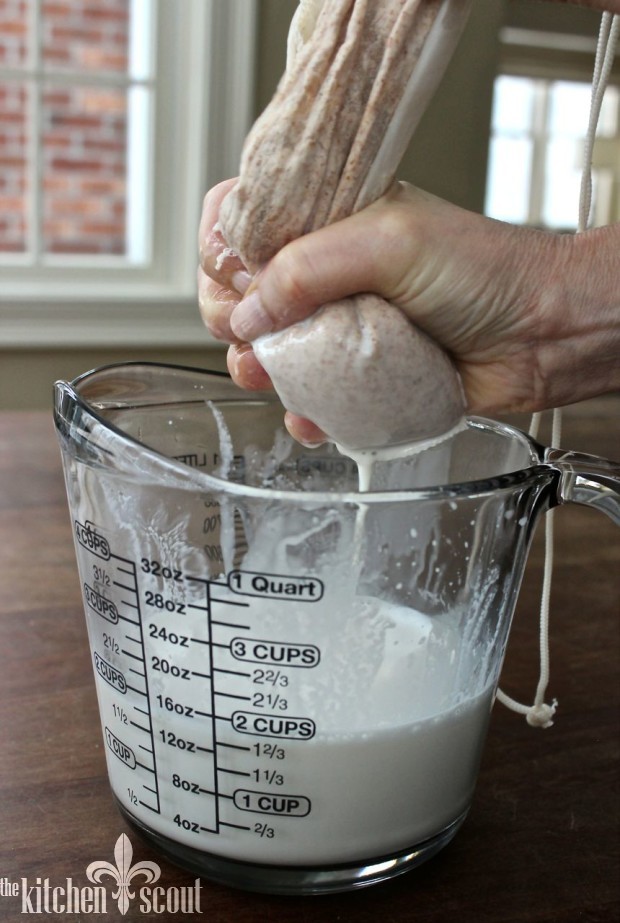
Final step to really get every last bit of liquid out…
What remains in the bag is the almond meal. Here is a link to an article about how to make use of the almond meal from The Kitchn.
From nuts to milk! I think that is pretty cool. We got about 3 cups or so of milk from 1 cup of almonds…
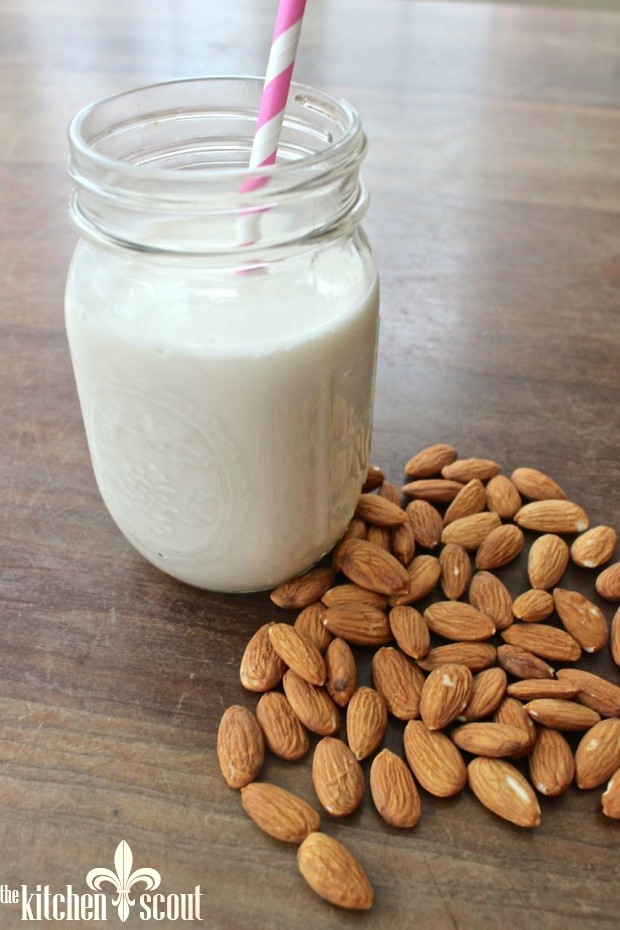
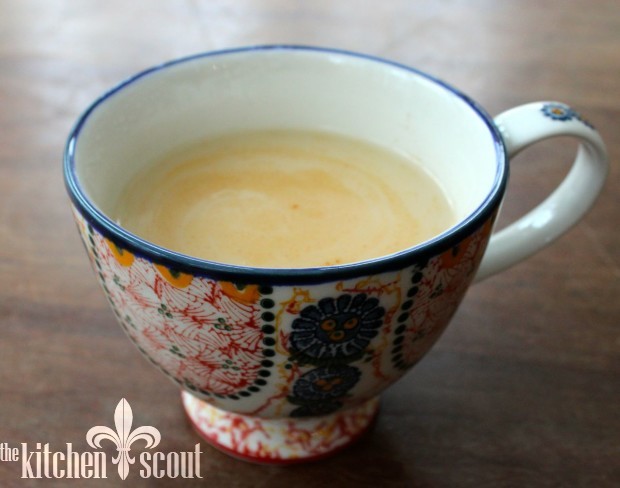
Delicious to drink on its own and perfect in a cup of chai tea to end our morning…
Now, back at my house I wanted to try the recipe using my regular old blender to see if it could work since I imagine many people (like me) do not have a super high speed blender. Keeping my hand on the lid, I started the blender on low and gradually increased the speed until I had a beautiful ivory liquid to strain. I did peel most of the almonds which was pretty easy (although tedious) to help out the blender. And I just used what I had on hand which were almonds in my freezer (probably not organic), regular tap water and kosher salt.
To be honest, the milk we made at Francine’s was superior in taste and I can only attribute that to the quality of her ingredients. Or maybe it was the magic in her hands, the hands of a great teacher. Thank you, my friend!
Do you have kitchen knowledge? I encourage you to invite a friend over for a cup of coffee or a glass of wine and share!
Until next week…
One Year Ago: Review of Short & Main in Gloucester, Massachusetts
Two Years Ago: Beef & Butternut Squash Stew
Homemade Almond Milk has a beautiful color, delicious flavor and creamy texture. Will keep about 3-4 days in the fridge. Shake well before using.
Ingredients
- 1 cup raw almonds, preferably organic
- 1 Israeli Medjoul date, pitted and torn
- 2 pinches kosher or pink Himalayan salt
- Filtered water
- Nut milk bag or fine mesh strainer lined with cheesecloth
Instructions
- Place almonds in a bowl and add enough filtered water to cover. Cover the bowl and leave at room temperature for a minimum of 12 hours and up to 2 days.
- Drain the almonds. If you want, you can remove the skins from the almonds but it is not necessary.
- Place the almonds into your blender. Add the date and the salt. Cover with 3 1/2 cups of filtered water.
- Start your blender on low for about 30 seconds and then gradually increase the speed. Blend for 2 to 3 minutes total. You will know it is ready when the flecks of almond skin are barely discernible in the liquid.
- If using a nut milk bag, place the bag in a measuring cup folding the top over the edge of the cup to keep it in place. Gradually pour the milk into the nut bag (you will need to do this in batches). Some of it will start to seep out which is just fine. Lift the bag and twist the top. Gently squeeze on the bag to extrude as much liquid as possible from the bag. You will hopefully get close to 3 cups of milk. You can discard the solids or you can store the solids in the fridge for other cooking purposes.
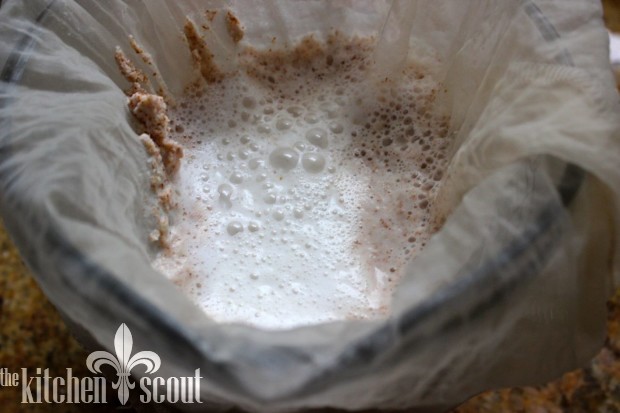
- If using a fine mesh strainer, place it over a bowl and line it with cheesecloth. Pour the milk into the strainer and allow it to slowly drip into the bowl beneath. You can press on any solids that are left behind with a large spoon or spatula to remove all the liquid. Repeat until all the milk is drained.
- Enjoy on its own, in coffee, tea or a smoothie. Perfect over cereal or mixed into oatmeal.


Can I use cheesecloth instead of the nut bag?
Hi Catie! Yes, you can use cheesecloth instead of the nut bag. Just make sure that you fold it so the milk has to go through a several layers of cloth as that will leave you with the least amount of residue. You may want to rinse the cloth and repeat. I have even done it with a paper towel!
I was very inspired after reading this post, purchased a nut milk bag and voila-had delicious almond milk that disappeared quickly. Thanks for sharing this recipe. It is SO much better than store bought and super easy.
So glad to hear this, Sheila! Thank you for commenting!
Great recipe, and I am wondering if the almond milk can be frozen. What do you think?
Hmmm. Haven’t really thought about that one, Sarah but I would think that freezing might work since so much of the content of almond milk is water. It may change the taste and texture however. I think it would be worth a try in a small batch!