Three years ago, I had the pleasure of being featured in the magazine Where Women Cook and I shared that experience with you all in this post. The magazine showcases female cooks who share their kitchens, themselves and of course some recipes. Stylist, photographer and designer, Matthew Mead was responsible for giving me this opportunity and together we had a glorious day in my kitchen cooking, sharing stories, taking photographs and sitting down to some delicious food.
One of the recipes I chose to make for that feature was something I have been making forever. It’s a dish that my mother often served at the holidays as it is a terrific accompaniment to almost any main course. In today’s world, it can serve as a vegetarian option for some.
I wrote this recipe down for myself what seems like another life ago, in my parents’ kitchen in Winchester, on the pad of paper that was next to the phone. You know, the kind of phone that was hung on the wall. The kind of phone that required you to sit down and talk with someone because the cord was the length of your arm. In later years, my parents bought an extra long cord for this telephone which allowed me the luxury of taking the earpiece around the corner into our den where I could flop into our big red leather chair and even close the door (yes there was a kink in the cord as a result) to chat at leisure with my friends. Multi-tasking while on the phone may have been limited to hand crafts such as knitting, sewing or even ironing in those days right? Oh what people do while they’re on the phone now ha ha…
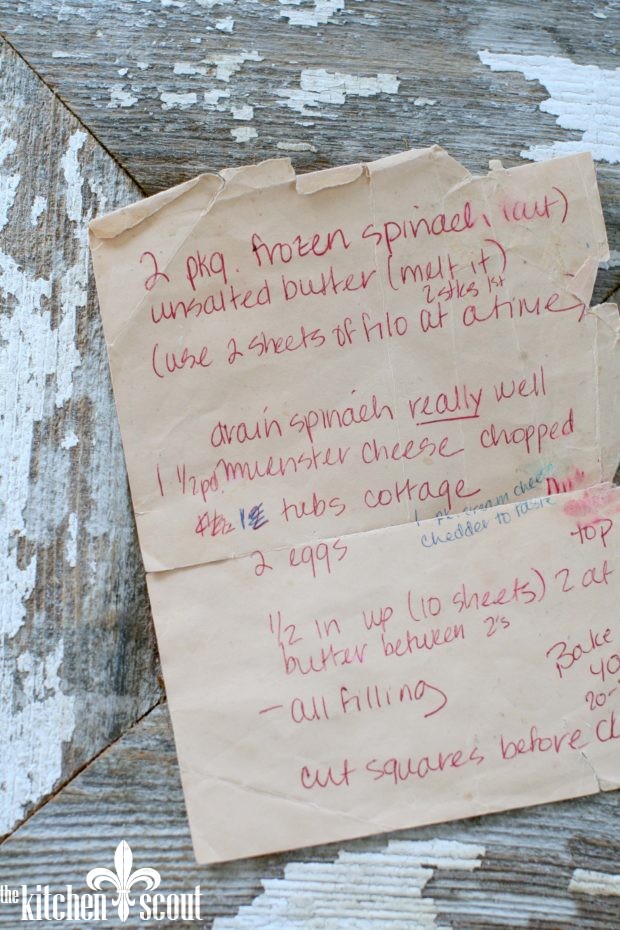
About this pad of paper, though. The brown paper (above) was loaded into a Lucite holder. It’s hard to describe, but it wasn’t today’s form where you can just drop the paper in and be done with it. This holder had a horizontal piece that was attached with screws and the paper needed to be hole-punched so you could secure it under the piece of Lucite. Total pain in the butt and it didn’t rip off easily either as you can see. I remember writing a lot of things down on this pad, including directions to someone’s house – remember that? Ugh…
Anyway, my father’s absolute best friend in the world was a man he met in college, who he stayed close with their entire lives. This man lived in Florida, but thankfully they saw each other as much as they could, sometimes in his friend’s home state of New York where they would gather in the summer. Phone calls were scattered between visits. One of the absolute best sounds in my house was the voice of my father when his friend, Pep called. It was like a long lost coming home party. The joy in my father’s voice was just intoxicating because he loved his friend so dearly.
And you all know how much I loved my father, so I decided one day when I was young to take a photograph that we had of the two of them, smiling and full of life, and cut it to size to put on that little Lucite paper holder next to the phone so that he could see his friend just a little bit more. That picture stayed there forever, or until my mother decided she was done with that pain in the butt paper holder – whichever came first! I wish I still had it…
So, back to the recipe that was written on the paper in the Lucite with the picture of my father and his friend. Are you with me?
I keep meaning to share this recipe with all of you and this time of year is generally when you might like to make it (Easter too) as it’s somewhat special, a little time consuming (although I provide an alternative at the end that is much easier) and will win you great praise at Thanksgiving or Christmas. In fact, it is a dish that I made for a family for a few Christmases when I worked as their personal chef…
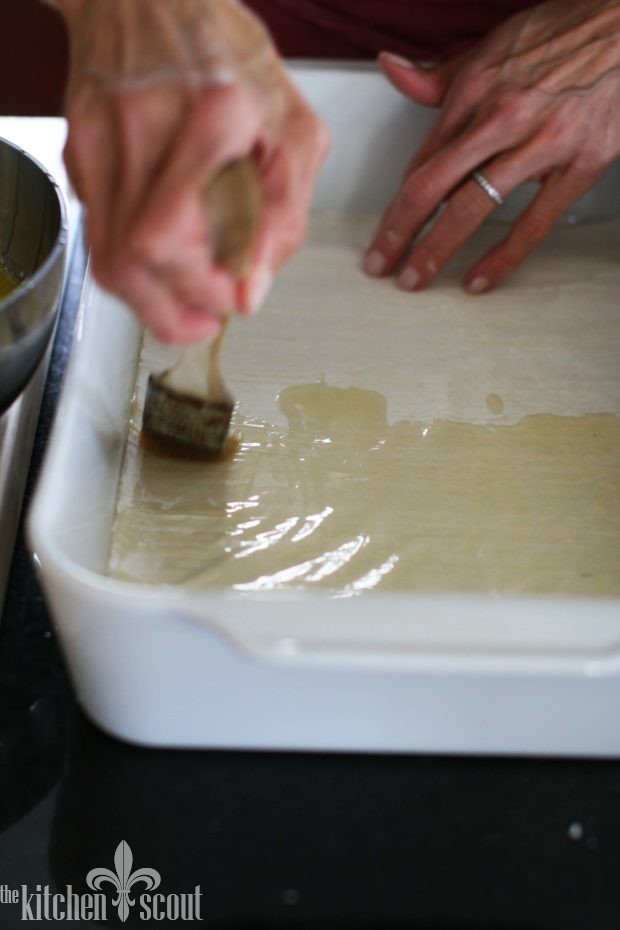
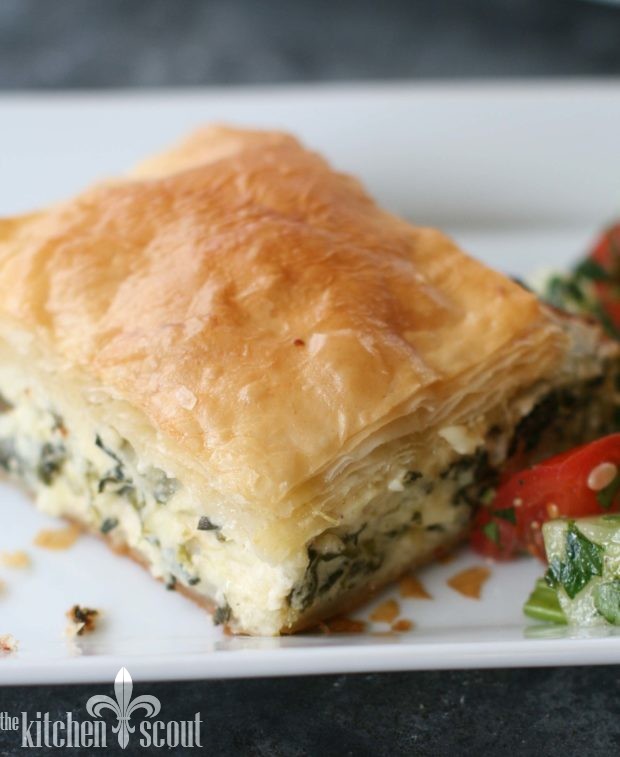
Layers of buttered phyllo dough are placed in a pan…
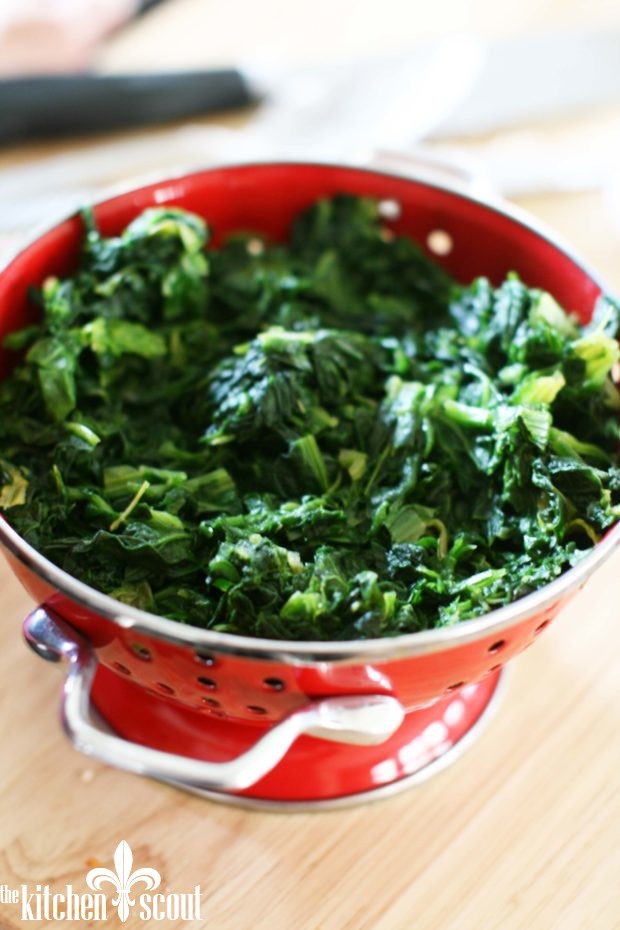
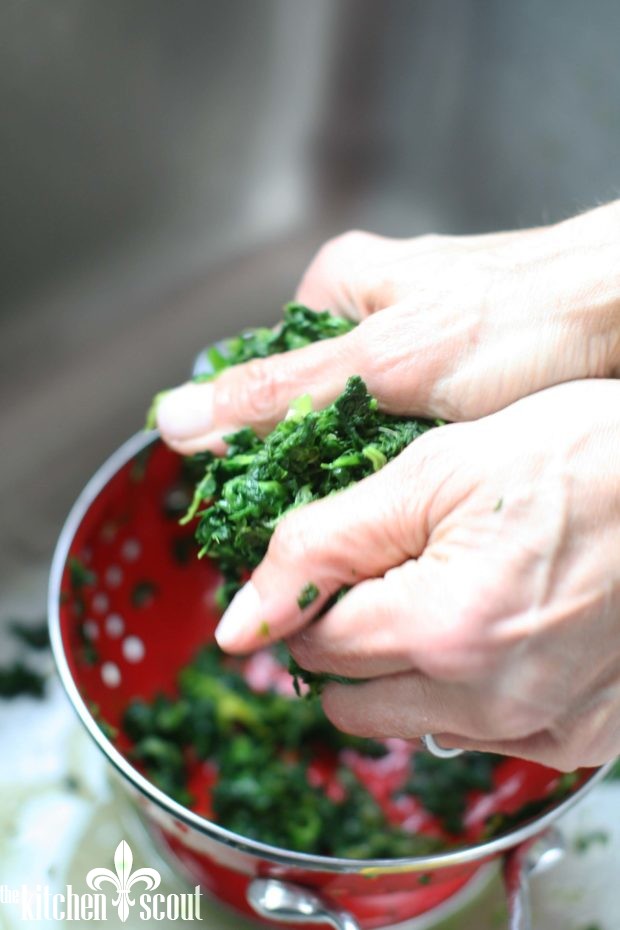
In between which is nestled a scrumptious mixture of cheeses and spinach. My mixture is cream cheese, Muenster (so underrated but such a great baking cheese), whole fat, small-curd cottage and a smidge of cheddar, freshly grated (not from the bag). I use frozen spinach that is squeezed dry. You don’t want any water in the mixture…
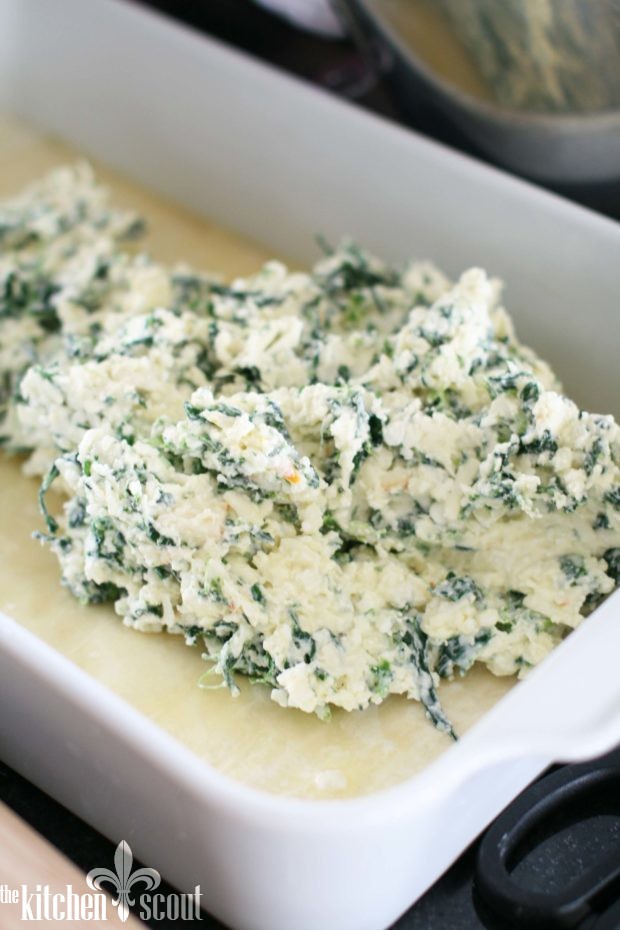
The sou-beoreg is pre-cut before baking to make it easier to separate after baking. You can cut them as big or small as you want, but this step is important because otherwise, it will be a big mess to cut after baking and you won’t get nice neat pieces…
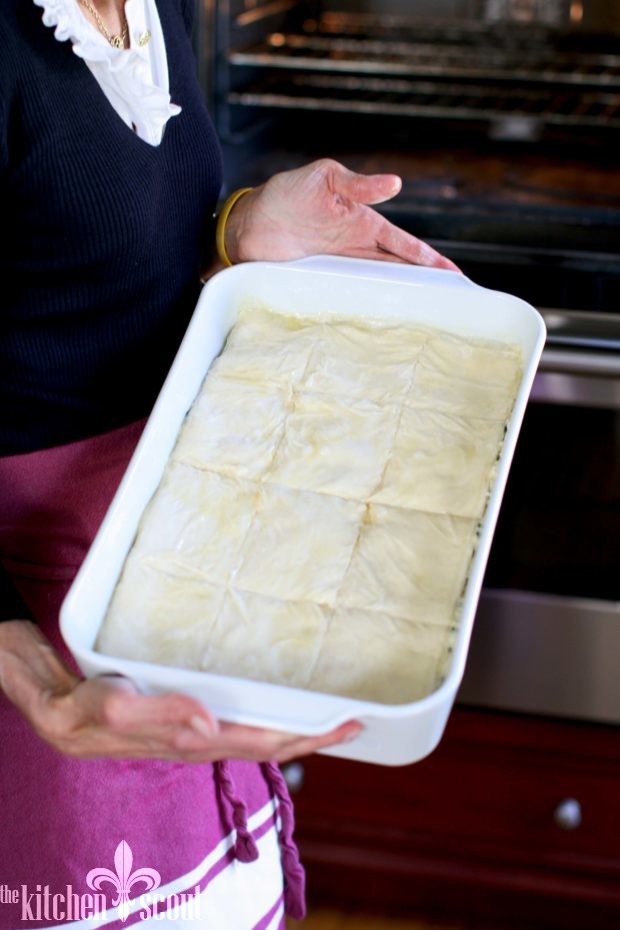
It is cooked until golden brown…
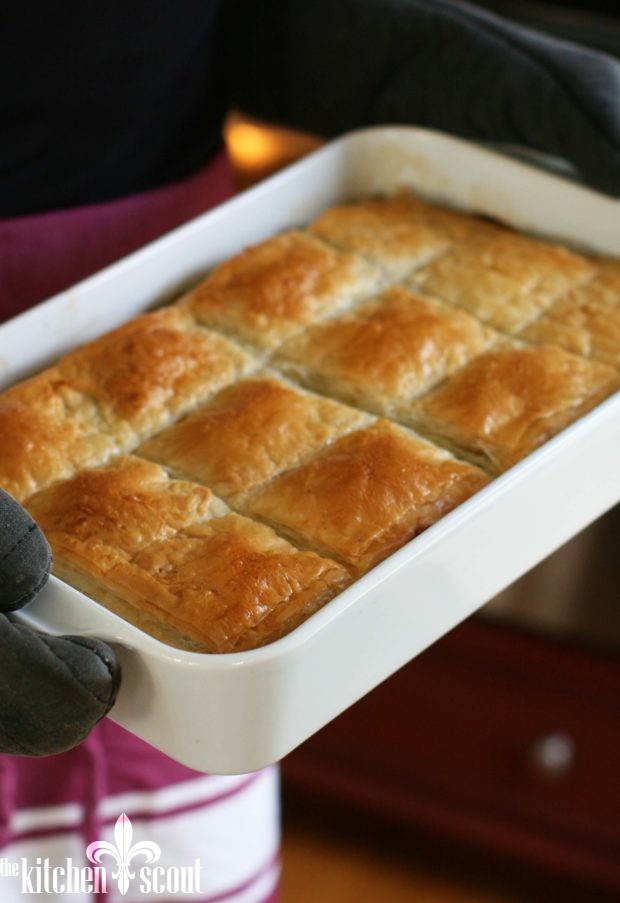
My recipe cheats just a little by allowing you to use two sheets of phyllo at a time. Purists will have a fit but honestly, it’s fine – there is a lot of butter to go around here. The results is a buttery, flaky, cheesy, yummy dish your family and friends will love…
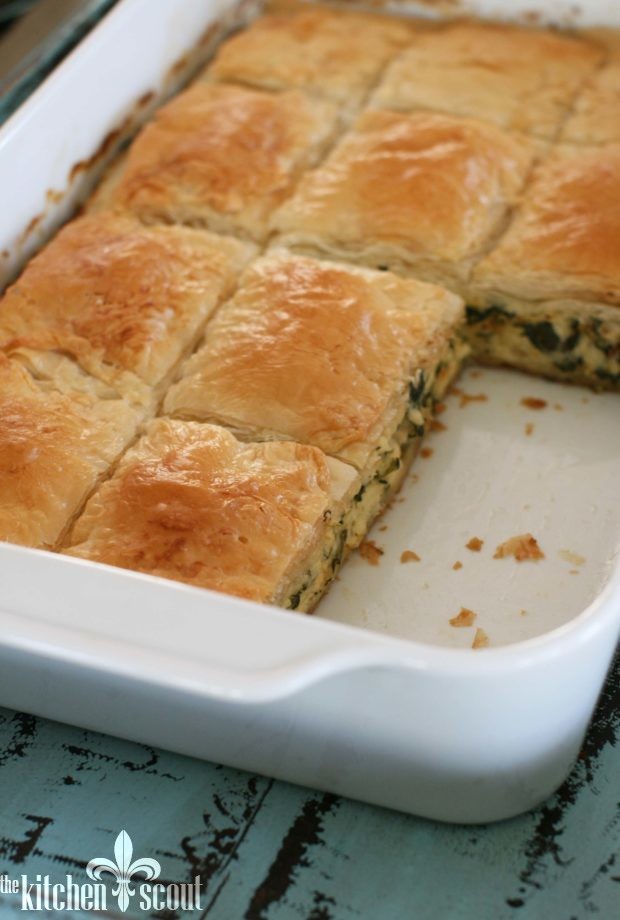
At our photo shoot, I served this with my Armenian Cucumber and Tomato Salad…
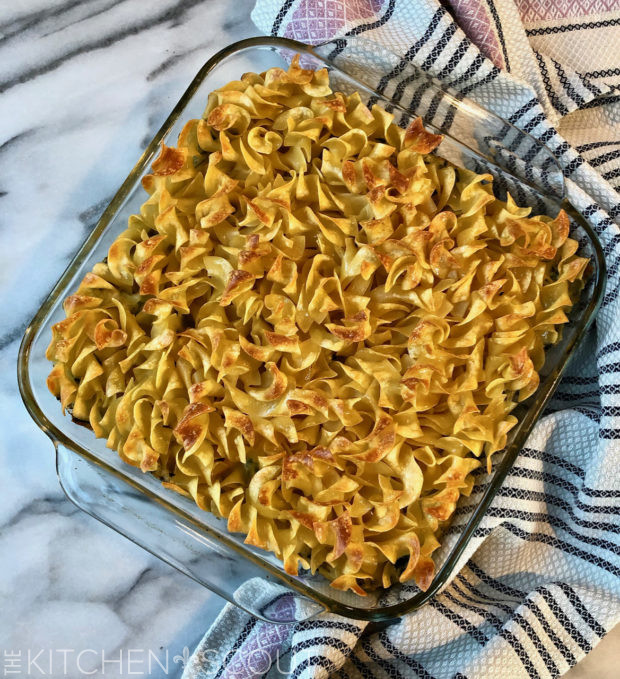
Now there is an easier way to make this if you do not want to work with phyllo dough (but honestly, it isn’t that hard and the dough is so forgiving). You can use broad egg noodles in place of the phyllo as I show below. This is a half-portion of the recipe which is also doable by the way. With the noodles it’s just as delicious, though not quite as special…
A few other dishes from the blog with similar flavor profiles are my Cheese and Spinach Phyllo Cups and my Easy Spanokopita Tart.
So, what do you think? Will you give phyllo dough a try? I promise you it isn’t that difficult and it is so worth the effort!
Until next time…
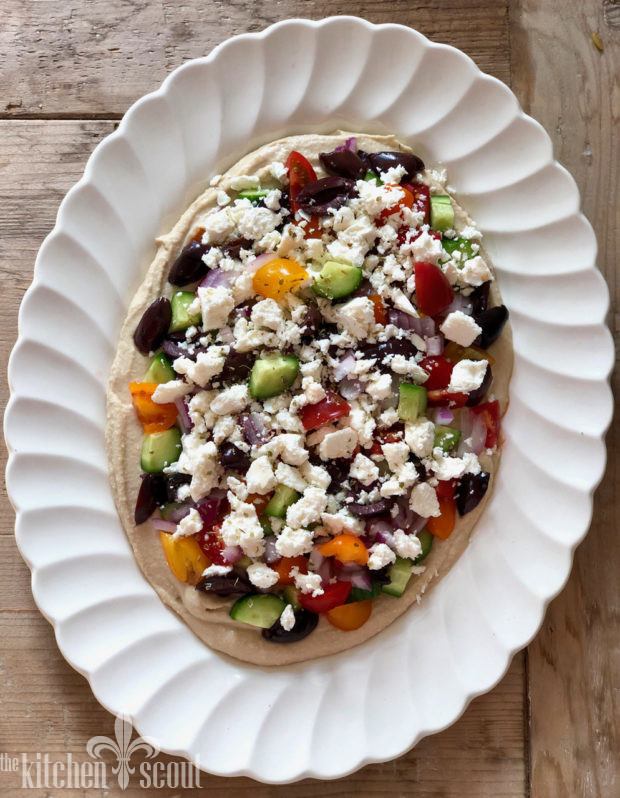
One Year Ago: Horiatiki Hummus
Two Years Ago: In Conversation with Jill Rosenwald

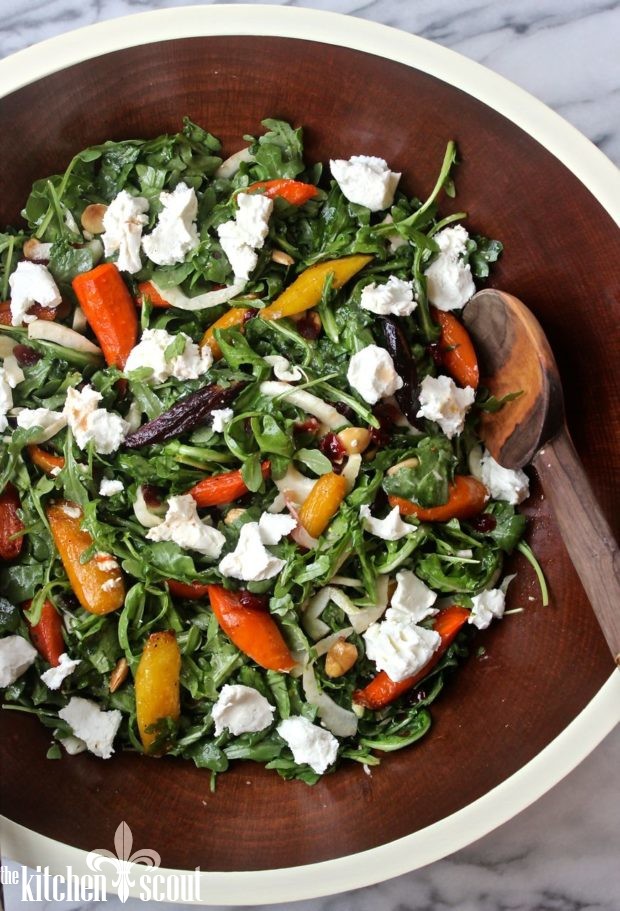
Three Years Ago: Maple Roasted Carrot Salad
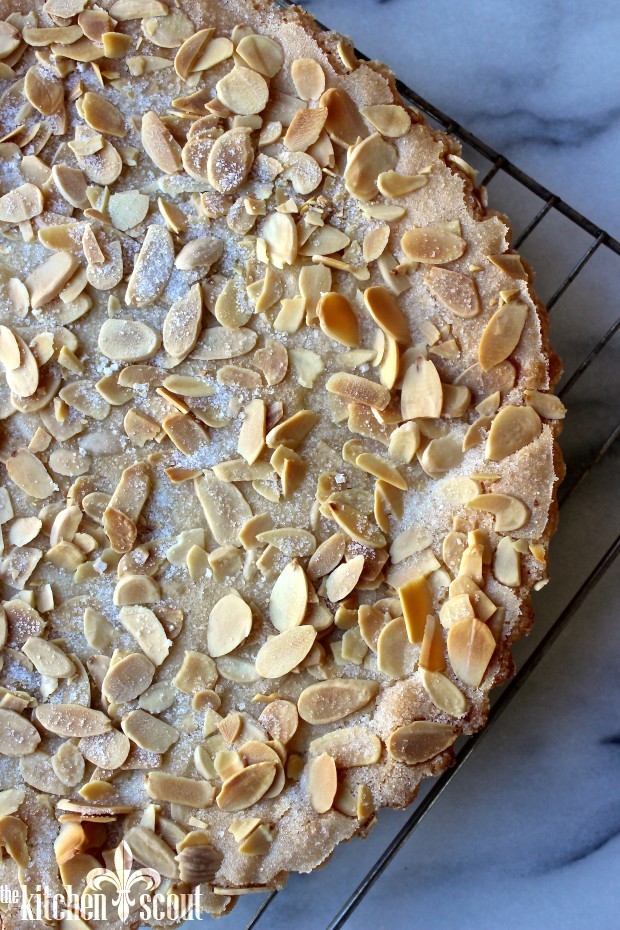
Four Years Ago: Marcella’s Butter Almond Cake (the best cake if you love almonds)
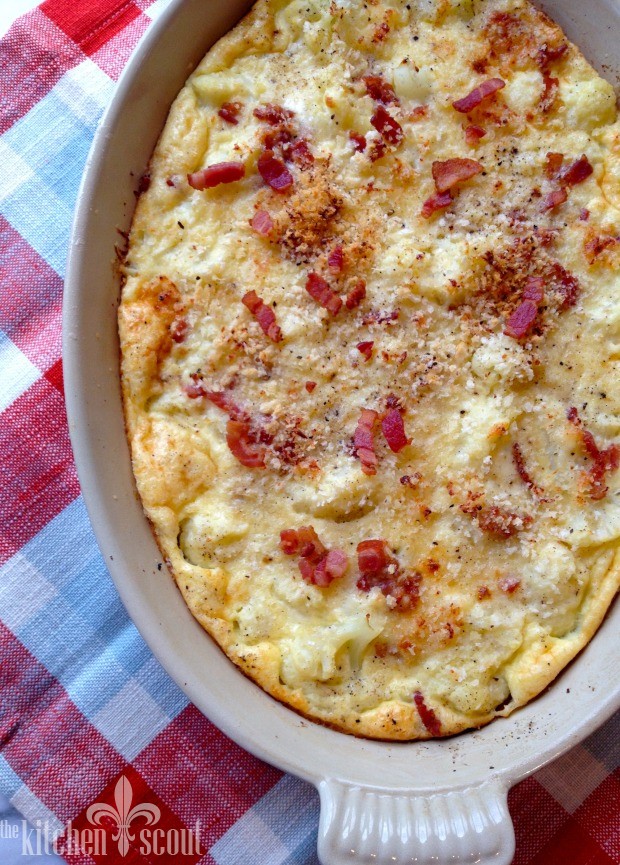
Five Years Ago: Cauliflower Bacon Gratin
Buttery, cheesy, flaky and all around delicious. Layers of phyllo dough conceal a mixture of cheese and spinach. A perfect side dish or vegetarian main dish for your holiday table. Make sure your cream cheese is at room temperature before attempting to mix it with the other ingredients. And see the note at the bottom for using extra broad egg noodles in place of the phyllo dough if you choose. But honestly, the phyllo makes this special and while it take a little practice to work with the dough, it is very forgiving and worth a try, especially at the holidays!
Ingredients
- 1 8 ounce package cream cheese, room temperature
- 1 ½ pounds Muenster cheese, grated
- 1 16-ounce tub of whole milk, small curd cottage cheese
- ½ cup freshly grated cheddar cheese
- 2 10-ounce packages of frozen chopped spinach, thawed
- 2 large eggs, room temperature
- 1 16-ounce package phyllo dough, thawed
- 1/2 pound unsalted butter, melted
Instructions
- Preheat oven to 375 degrees.
- Place all cheeses into the bowl of a stand mixer. Mix at medium speed until just combined. You can also do this by hand.
- Squeeze out as much liquid from the spinach as you can and add to the cheese along with the eggs. Mix again until filling is completely combined. Season with just a touch of kosher salt and freshly ground black pepper.
- Brush the bottom and sides of a 9 by 13 inch baking dish with some of the melted butter.
- Remove phyllo from packaging and unroll. Cover with a piece of plastic wrap, then a dampened kitchen towel to prevent it from drying out.
- Take 2 sheets of phyllo dough at a time and place into the baking pan (see note at bottom of recipe). Brush completely with melted butter. Repeat, using 2 sheets of phyllo at a time until you have used up half of the dough (some boxes of phyllo separate the dough into 2 equal sized packages, taking the guesswork out of this).
- Add all of the cheese mixture, spreading it out to completely cover the dough.
- Repeat layering the phyllo, 2 sheets at a time and buttering the layers until all the phyllo has been used up.
- If time allows, chill the beoreg for a few minutes to allow the butter to firm up. You now want to score the beoreg into 12 pieces. You do this by making shallow cuts in the first layer of dough, 3 lengthwise and 4 widthwise. This will make cleaner cuts when you serve the finished dish.
- Bake for 45 minutes or until golden brown.
- Allow to cool for 15 minutes before cutting and serving.
Tips from The Kitchen Scout
If you want to make Noodle Beoreg, boil two packages (12 ounces each) of extra wide egg noodles for a few minutes shy of the package instructions. Drain and toss with 4 tablespoons of melted unsalted butter. Use half of the buttered noodles on the bottom of the pan. Layer all the cheese on top, and finish with the remaining buttered noodles. Bake loosely covered with foil for 20 minutes. Remove cover and continue baking for another 15-20 minutes or until cheese is melted and noodles have started to brown. You can put it under the broiler (carefully - keep an eye on it) to brown it up a little more if need be.






Absolutely delicious! Another superb recipe!
Awesome! This makes me so happy, Annie 🙂