One year ago, I wrote a post with a tour of the Armenian markets in Watertown, Massachusetts that included my recipe for Cheese & Spinach Phyllo Cups. If you weren’t a subscriber to The Kitchen Scout at the time, the post will walk you through some of the items you can purchase to put together a unique mezze platter for your holiday entertaining. The phyllo cups are really easy to make as well and I will be bringing them to our Thanksgiving celebration in Rhode Island next week. They have all the flavor of a traditional cheese and spinach boereg (phyllo triangle) with a fraction of the work.
In that post, I mention that one of my jobs as a young girl was to shred the string cheese that my mother would purchase at the markets. The job was a little tedious as we liked to have the cheese shredded to the size of angel hair pasta, but it was well worth it! So yummy.
Well, a few weeks ago, I invited two of my cousins to join me in the kitchen to make homemade string cheese, an activity that had been on my bucket list for some time. My cousin, Karen was the teacher and my other cousin, Joyce and I were the students. We had an absolute blast in the kitchen and ended our morning by sitting down to a bowl of my Tuscan White Bean and Kale Soup which seems to be a hit with a lot of you!
Let me walk you through the process we used to make the cheese. Note that this is one method of making string cheese – there are others out there. My cousin learned it from her friend, Cynthia who learned it from another friend from Pennsylvania. That’s the way recipes are handed down, right?
˜
To make the string cheese, you will need fresh mozzarella curd, salt, black caraway seeds (also called Nigella seeds), a scale, glass pie plates and a rack for drying the cheese before storing.
Joyce is a personal chef and caterer so she has access to a restaurant supply store that sells the curd in 10 pound packages. I was unable to locate any sold in many of the supermarkets I frequent unfortunately. However, if you have a valid business license or tax-exempt certificate then you can generally gain access to these types of stores fyi…
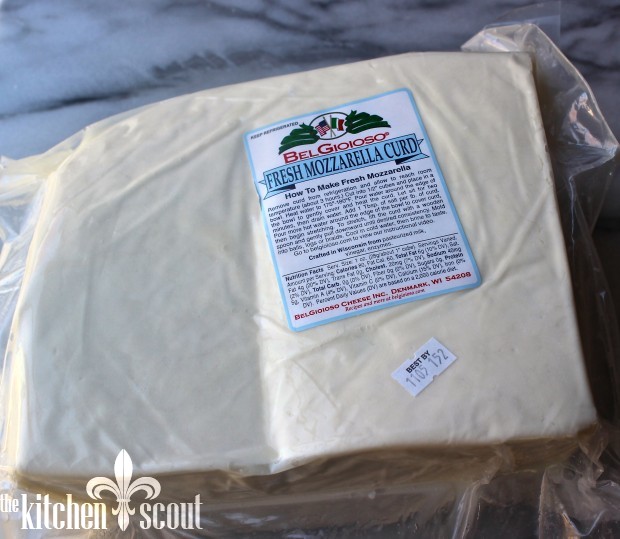
Here is a picture of the curd…
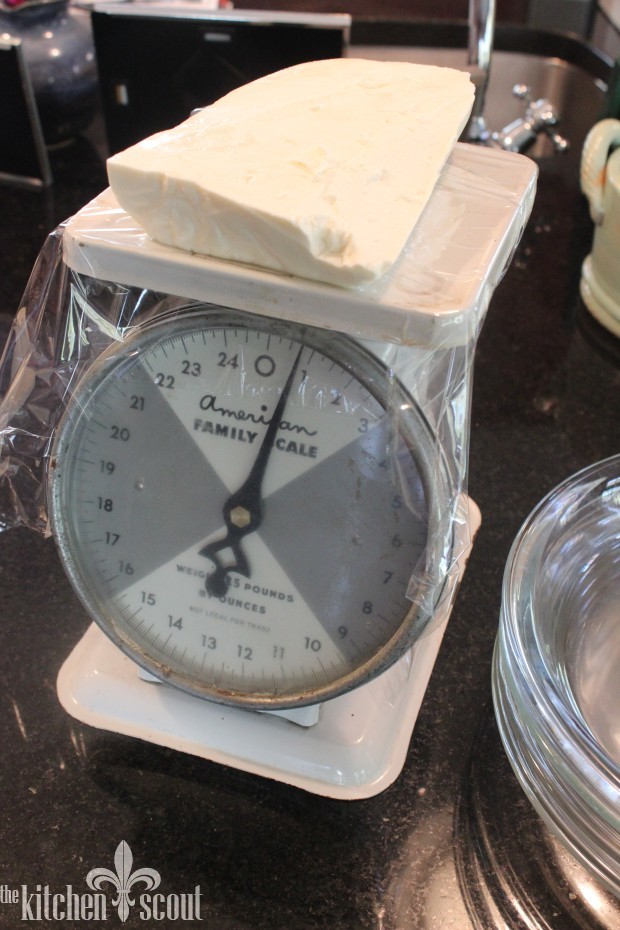
The first step is to cut the curd into 12 ounce pieces…
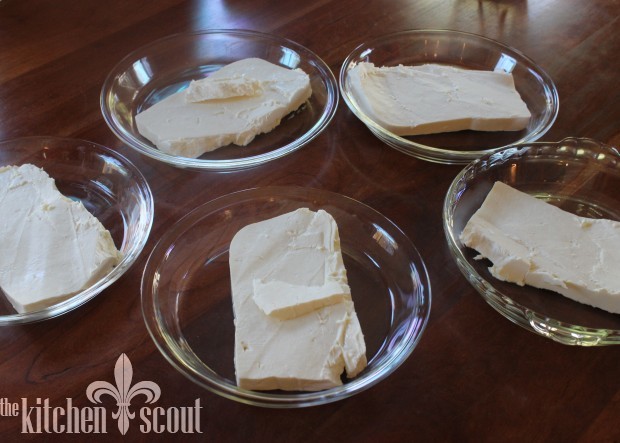
And then place the pieces in glass pie plates. It doesn’t matter if there is one large piece or a couple…
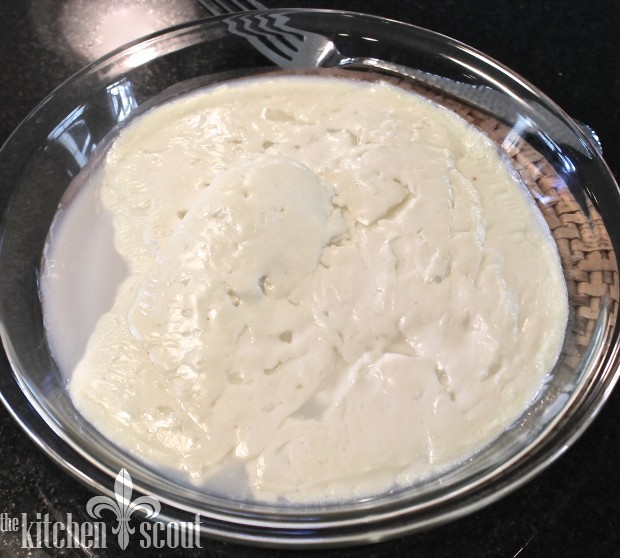
The next step is to place the dishes in a low, 250-300 degree oven. You want to soften the curd and have it start to melt so that it becomes pliable. This is what it looks like when it comes out of the oven…
At this point, it’s important to work somewhat quickly to take advantage of the plate’s heat and its role in keeping the curd elastic. Using a fork, fold the edges of the curd to the middle…
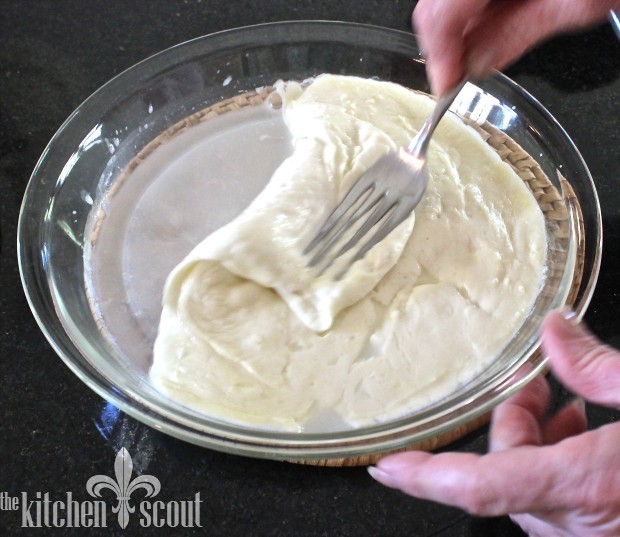
Then, knead the curd with fingertips to make sure it’s smooth and elastic…
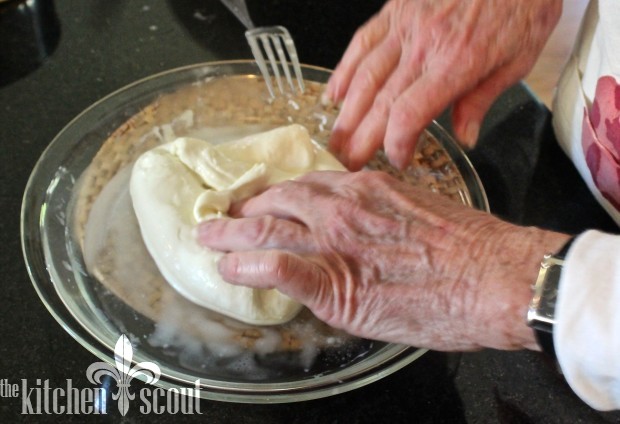
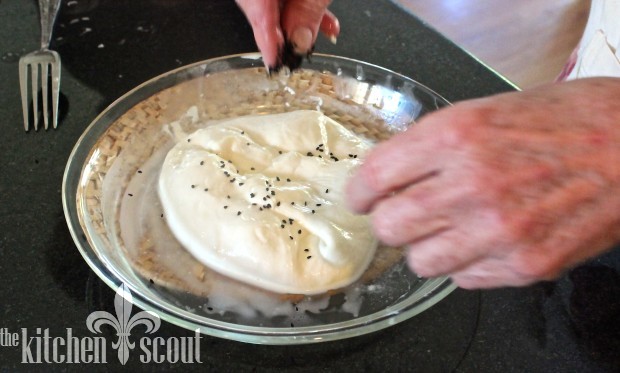
At this point, add a sprinkling of the black caraway seeds. They provide color, texture and a unique flavor to the cheese. Salt can also be added at this point, or later in the process…
The next step is to shape the cheese into the braids you see in the supermarket! The fun part!
First, make a hole in the the curd by gently placing fingers in the center and pulling it to the sides. At this point, excess liquid that has accumulated in the dish should be drained off…
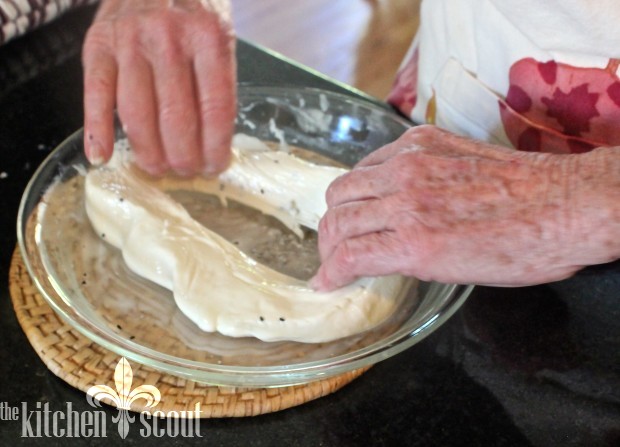
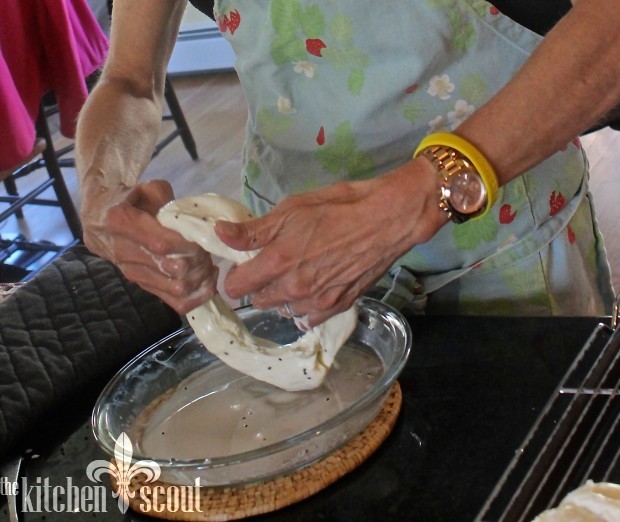
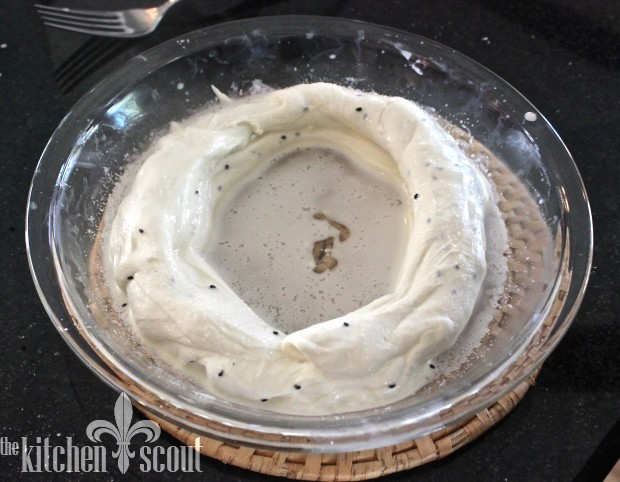
If the cheese has not yet been salted, now is the time to do so.
The next step is to stretch the cheese, slowly so that it does not break…
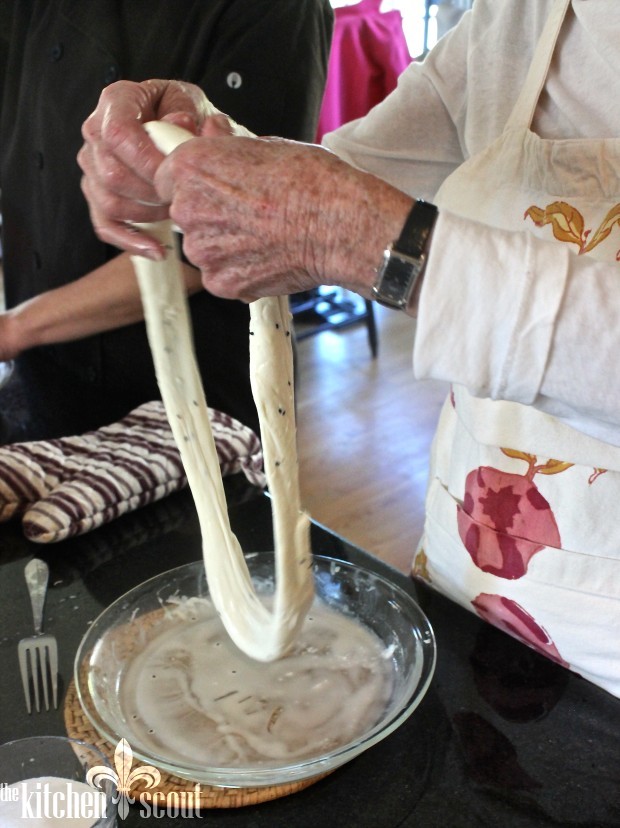
Once you have stretched it as far as it will go, you double up the strands (like a figure eight) and continue to stretch…
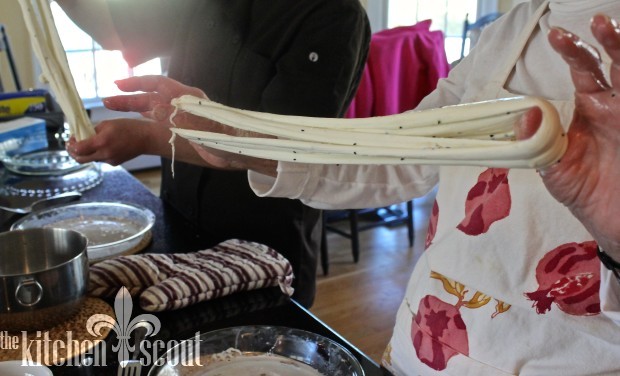
Double and stretch again…
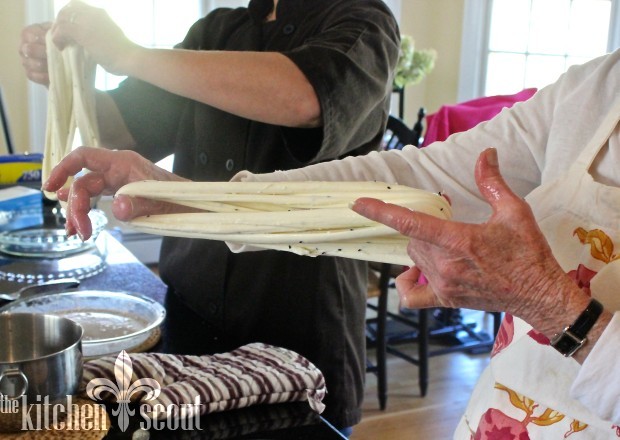
This is repeated a couple of times so that you are creating lots of strands. One hand stays stationary and the other hand gently pulls the cheese in the opposite direction. Here’s Joyce stretching her cheese…
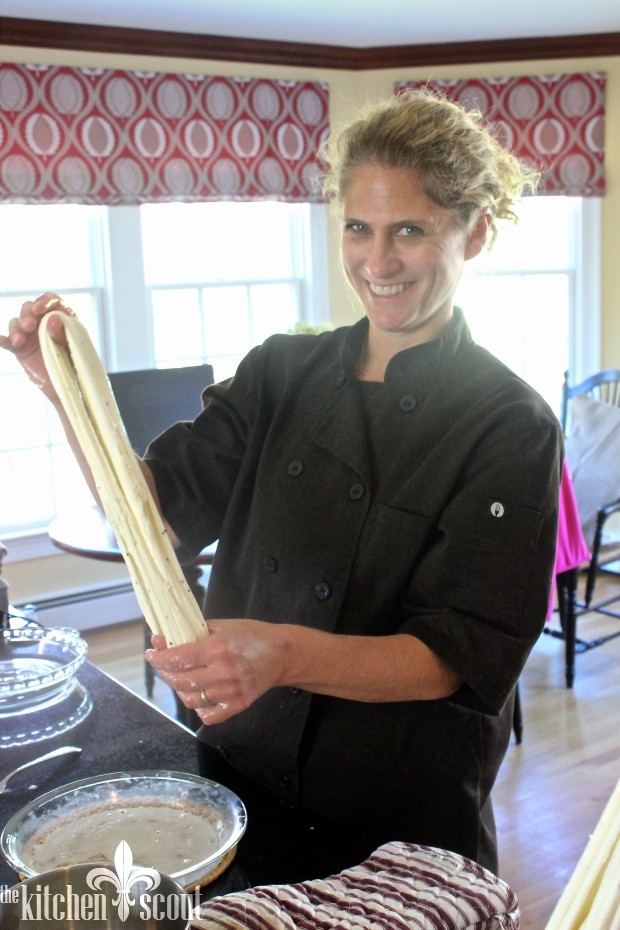
The next step is to twist the cheese as shown below. You can see how long it is now and how many strands Karen was able to get out of her piece…
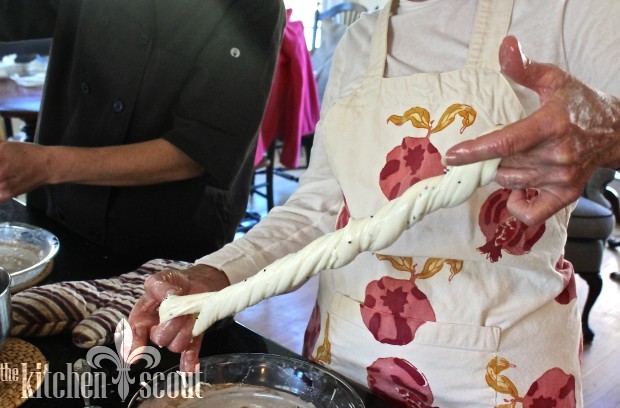
I got a little carried away…
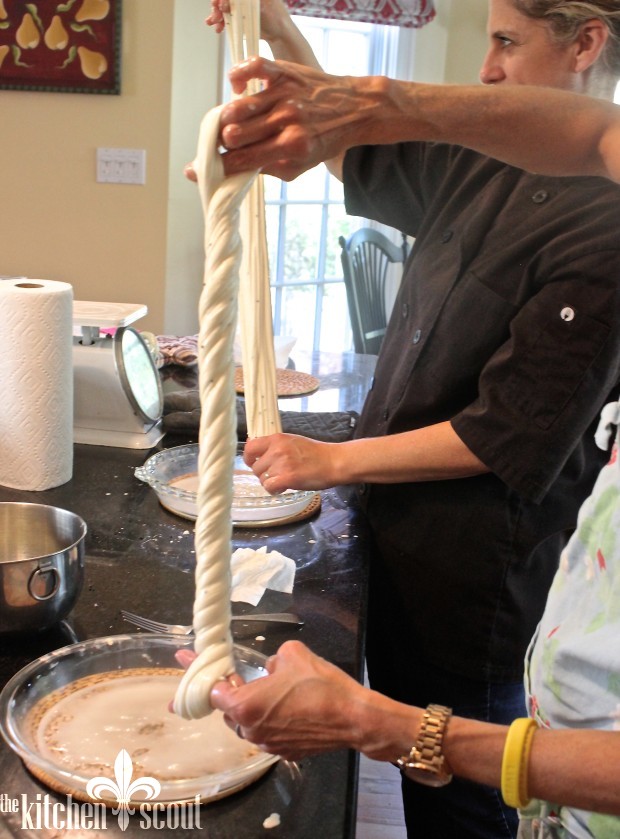
After the cheese is twisted as shown above, it is twisted again into a figure eight. To secure it, one end is tucked into the other end. You can see how Karen is pulling through one end into the other end in the pictures below…
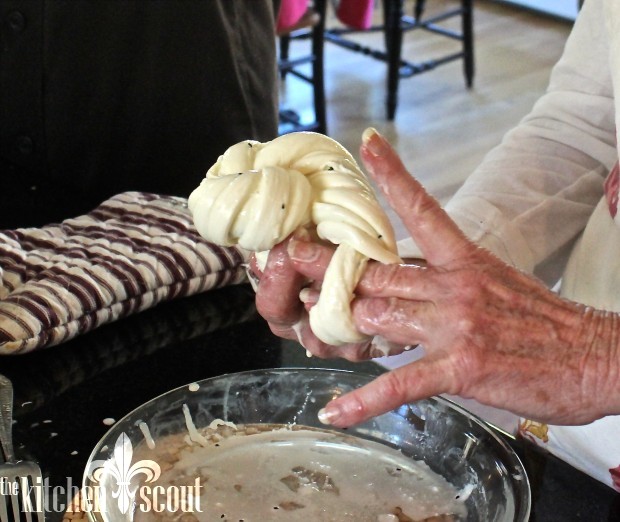
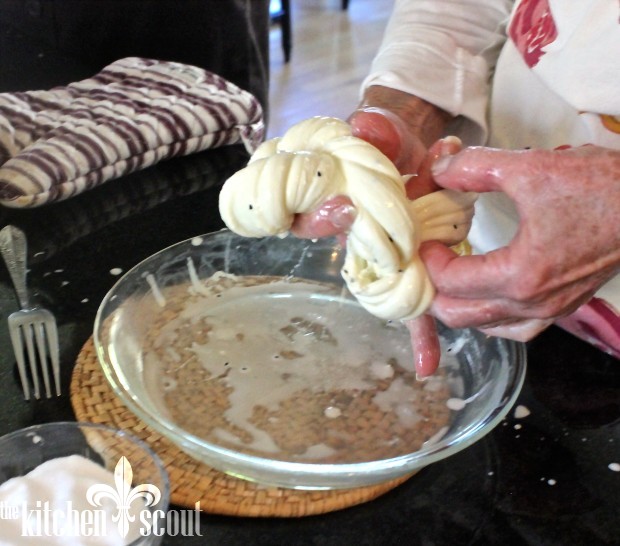
The finished product…
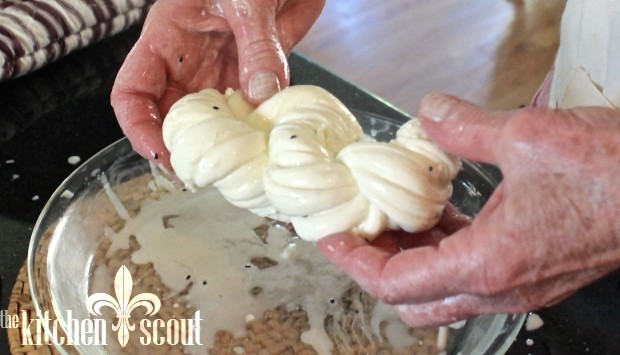
The braids drip dry on a rack that sits on top of a cookie sheet before they are ready to be wrapped up for storing. Karen has had great success wrapping the cheese in plastic wrap and then in baggies and storing in the freezer.
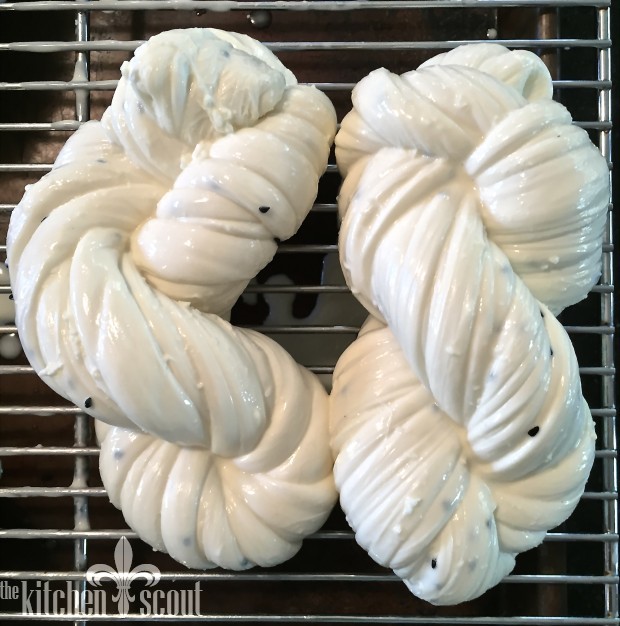
Here are the initial braids made by Joyce (left) and me (right)…
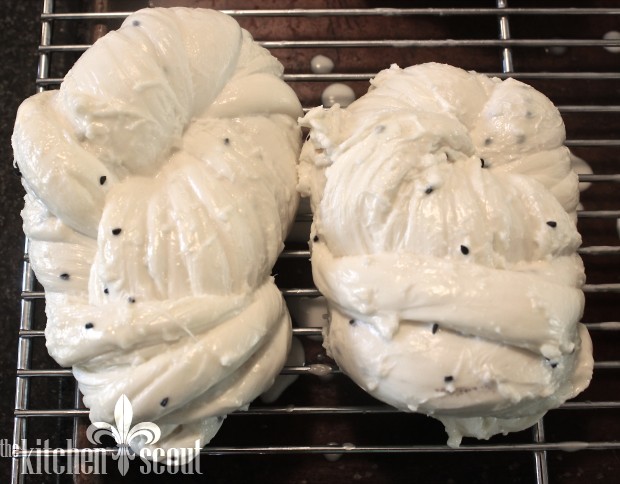
And here are our last two – we got the hang of it!
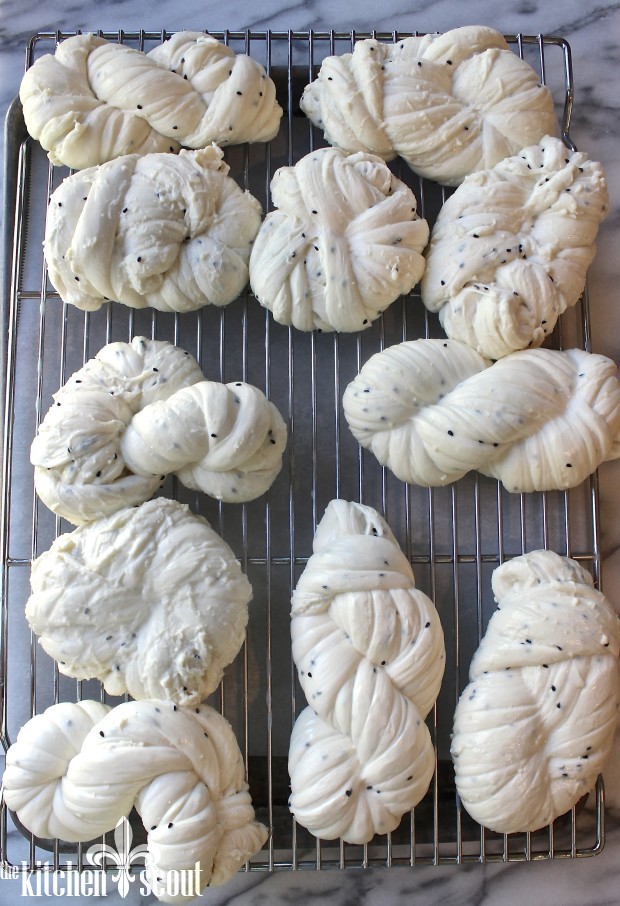
And our entire batch. Some are a little prettier than others but they will taste the same…
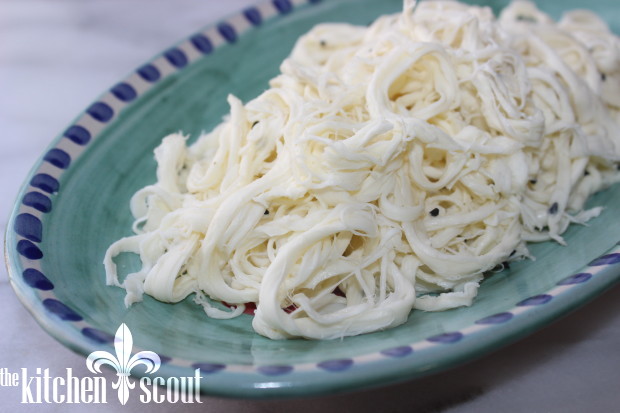
Ready for shredding and eating on its own – yummy…
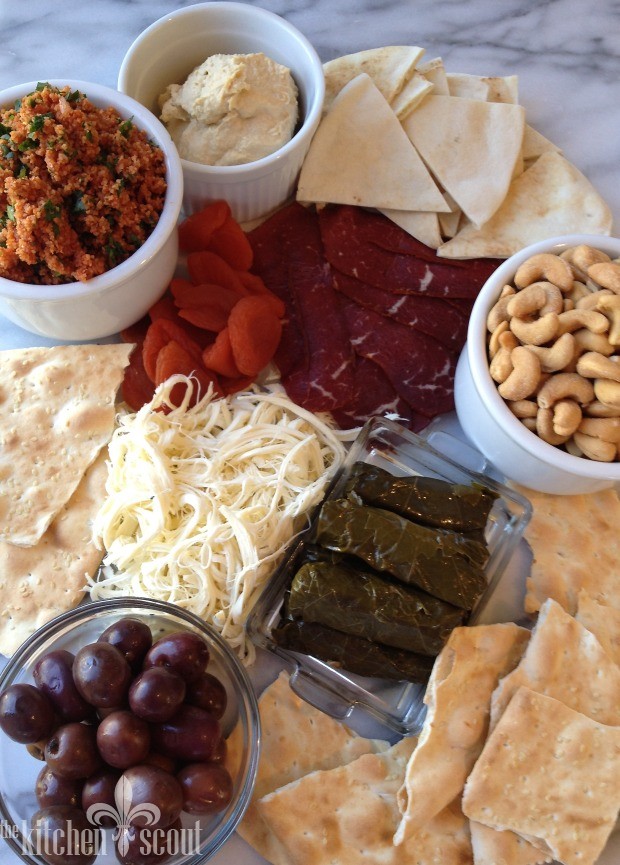
Or as part of a mezze platter…
The entire process took under two hours! We ended up with lots of delicious cheese and some wonderful memories of our time in the kitchen.
Maybe you will give this a try in the future? Or you can just go pick up some delicious string cheese at the Armenian markets. Make sure to get the salted variety because the unsalted really doesn’t have any flavor!
Happy Thanksgiving to everyone and I will see you next week!
Ingredients
- Mozzarella Cheese Curd
- Salt (kosher or table)
- Black Caraway seeds (also called Nigella seeds)
- A scale
- Pie Plates
- Cooling Rack set over a cookie sheet
Instructions
- Heat oven to 250-300 degrees.
- Slice curd into 12 oz. pieces. Place in glass pie plates. Heat in oven until the curd gets soft and starts to melt. Note it is best to stagger the time in the oven so that they're not all ready at the same time.
- Remove from the oven and use a fork to fold the edges of the melted curd to the middle. Using fingertips, knead the cheese until it is smooth and elastic, leaving it in the dish for warmth. Add the black seeds and press in.
- Make a hold in the center of the curd so that you essentially have a large ring. At this point, you want to squeeze as much liquid as possible from the cheese so that it will freeze well. Pour off the milk as you go along.
- Start stretching slowly so that the curd doesn't break. Add salt to both sides and continue to stretch. Double the strands and stretch again. Repeat three or four times returning to the warm dish to soften if necessary. Stretch once or twice more and twist the cheese (left hand twisting while holding and pulling with your right hand). Twist into a figure eight and knot.
- Put on a rack set over a cookie sheet to drain.
- Wrap in plastic and store in freezer bags.
- Enjoy!







Best lesson yet. Thank you for posting Nancy Kassabian.
Valerie,
So impressive! I’m going to show this post to Arpi!
Let’s plan a day this winter to make manti. I have my grandparents recipe.
Ani
I would love to do that with you, Ani! Let me know what Arpi thinks of my cheese making skills 🙂 Hope you are well. xo